Building a Python3 + Django Development Environment on Windows 11
Django is an integrated framework for web development using Python, offering convenience in creating and developing integrated web services. It inherently provides a web server (including Http, Https, WebSocket), static files, front-end HTML templates, database object models, data querying (QuerySet), and more. It allows database use without learning SQL.It can automaticlly generate a backend admin site based on your models.
Considering it’s a development environment, A IDE which is free, beginner-friendly, and efficient is truly what we indeed need. We use Visual Studio Code (VsCode), which also provides excellent support for front-end technologies like React, Vue, TS, and JS.
Setting up the Django development environment mainly involves 4 steps:
- Install VS Code
- Configure Python
- Create virtual environment
- Setup Django project.
PS: The author prefers developing on MacOS and uses a clean system on Win11 VM for demonstrations.
1.Installing VSCode
Let us start by installing VSCode. You can download the latest version conveniently from the Microsoft’s website, which also provides a Python installation guide. When installing, select all the recommended configuration options for convenience.
1) Installing VsCode
https://code.visualstudio.com/Download
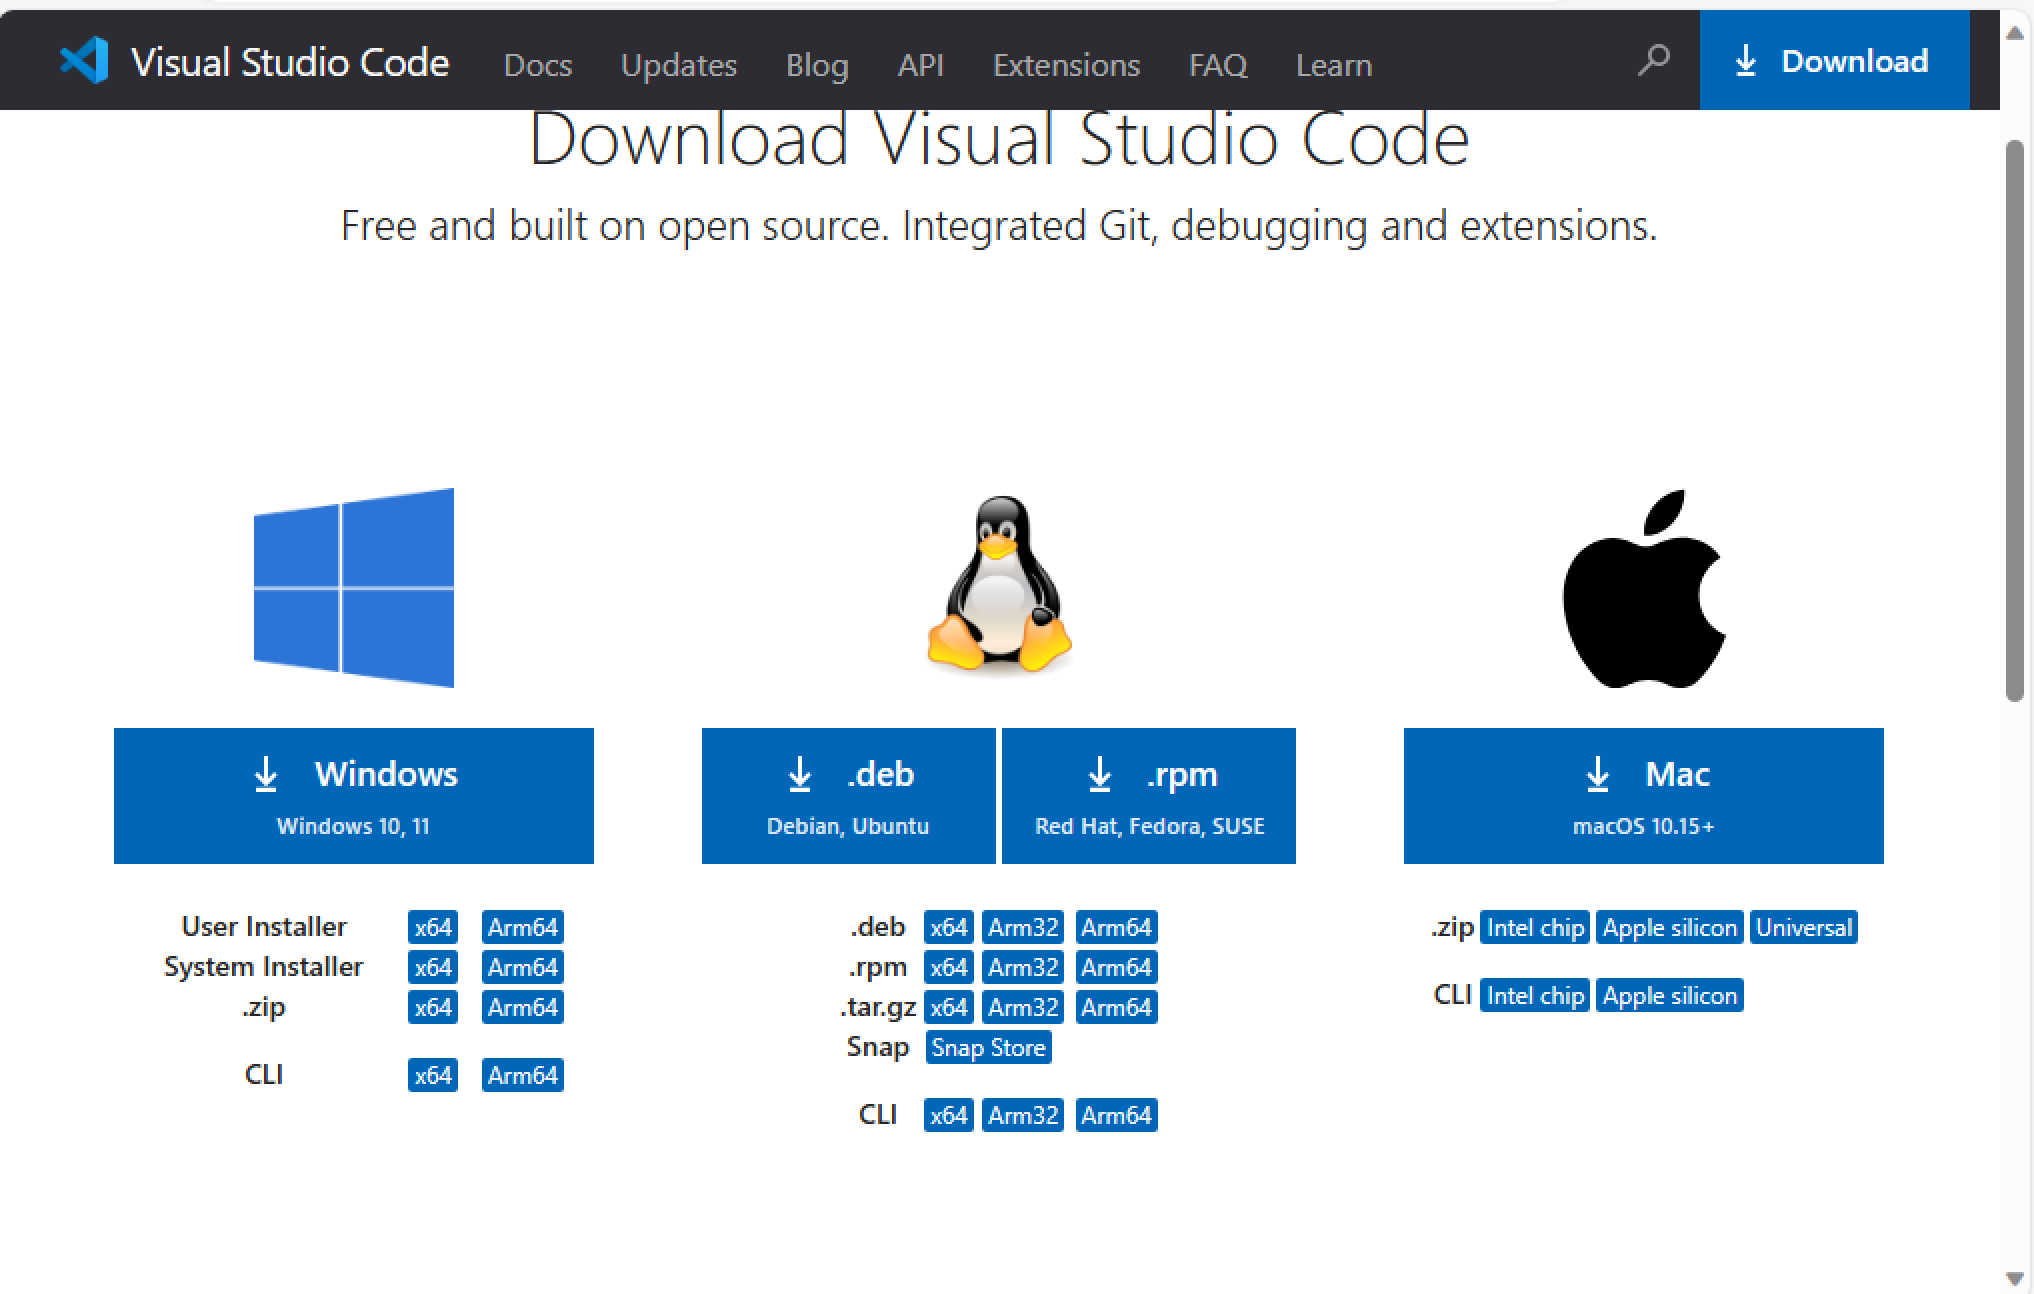
Click Windows on the left to download the installation package
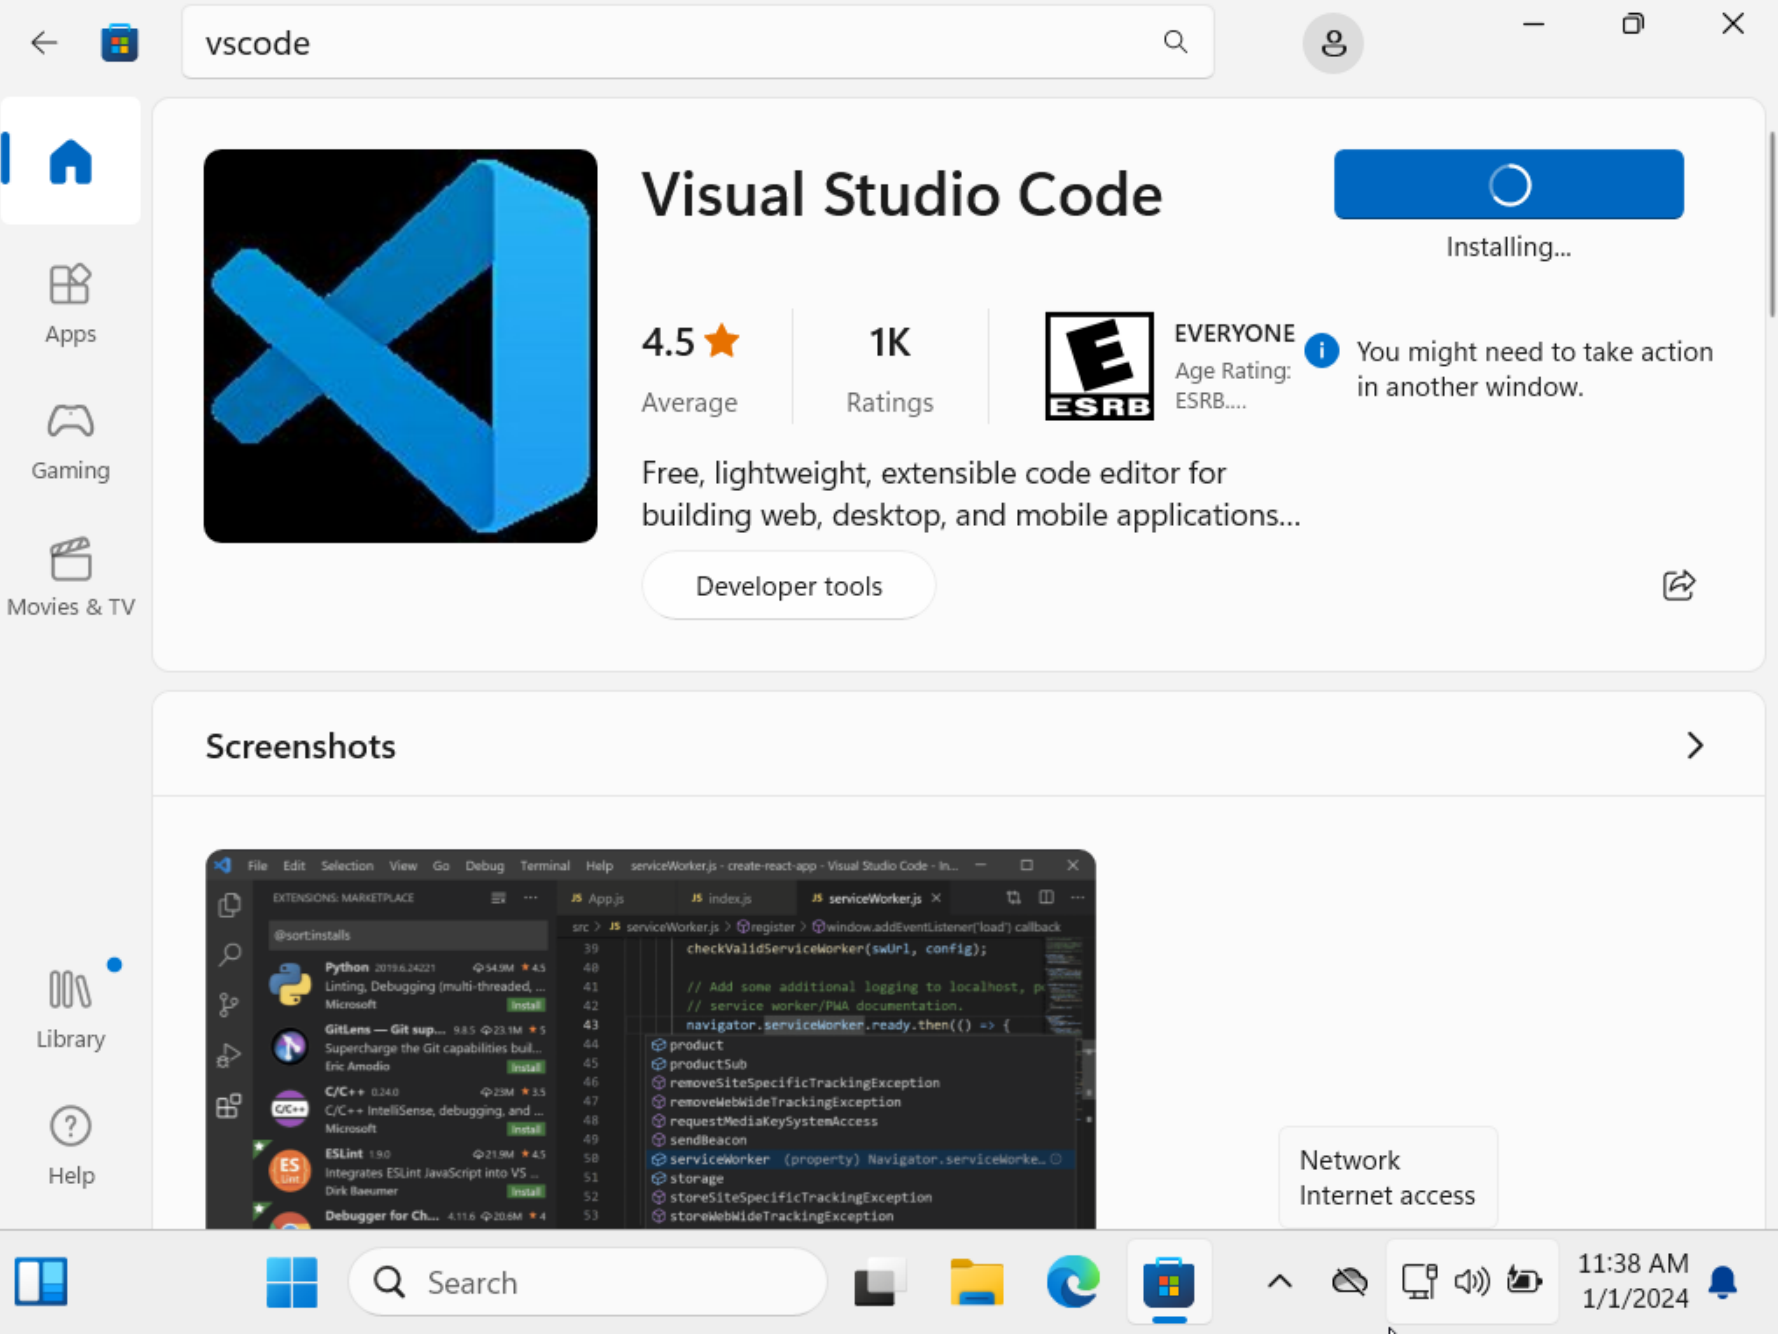
Or open Microsoft Store to install VS code .
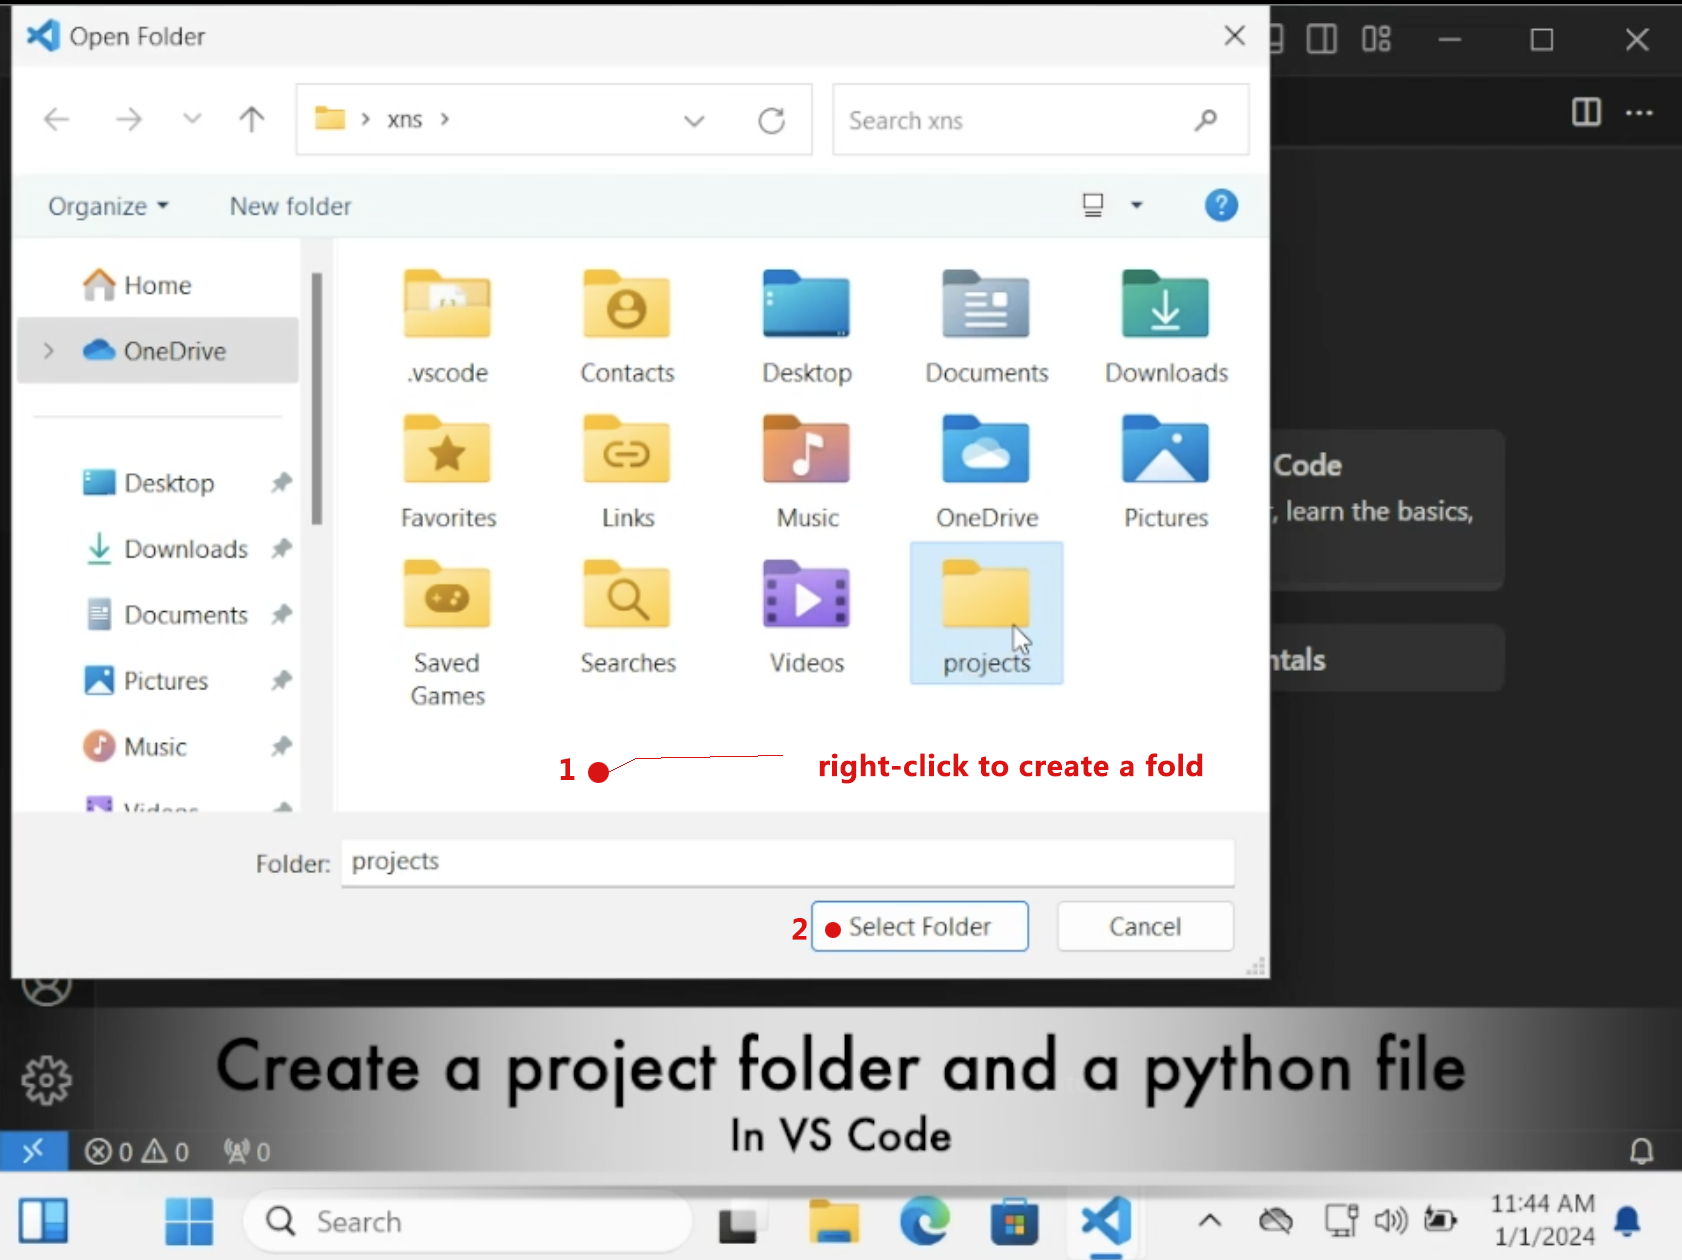
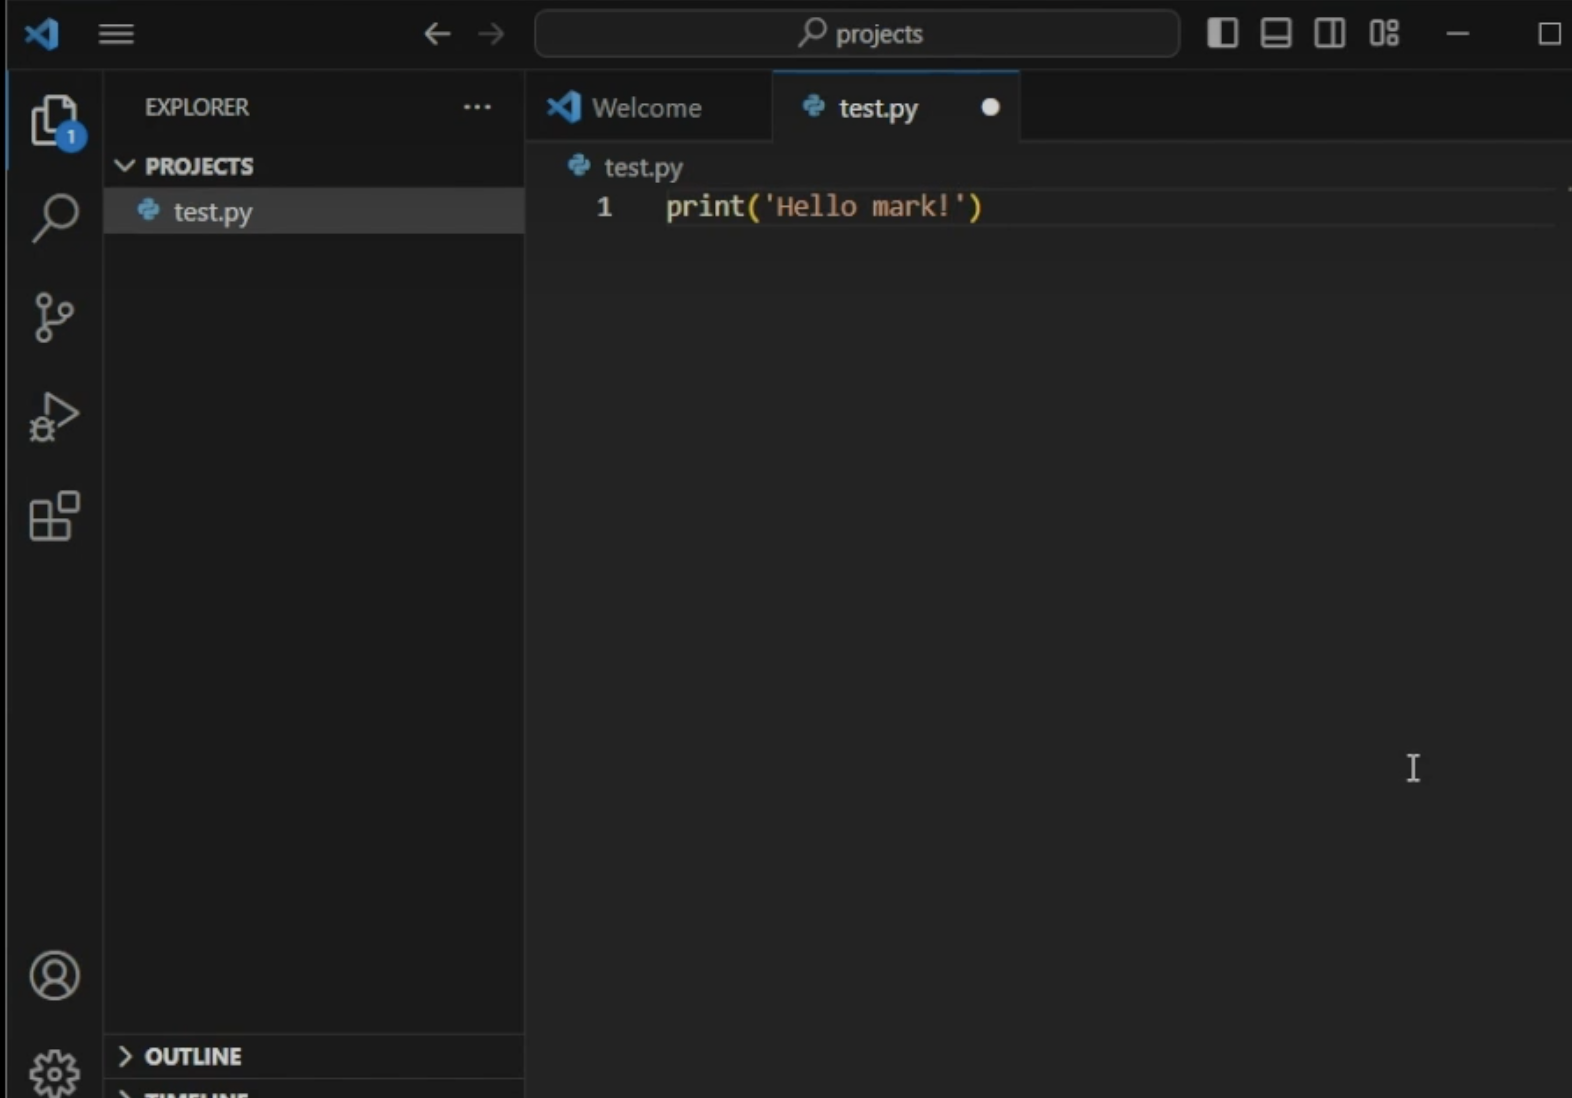
2) create an test.py file
Click “Open Folder” button and create an folder called “projects”
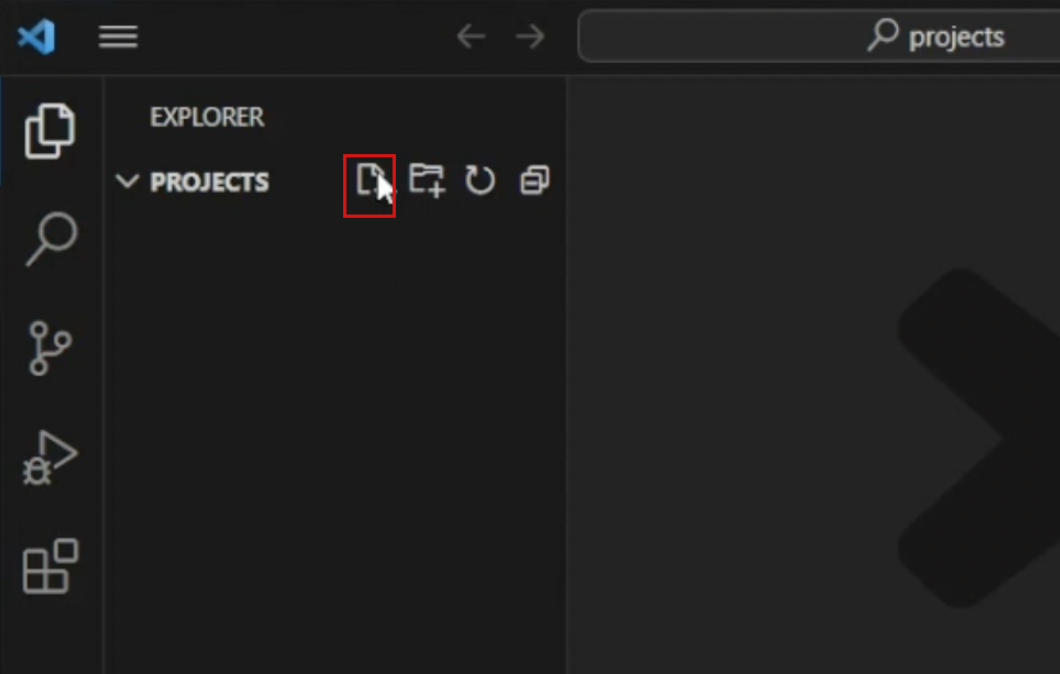
Then, It returns to the VSCode main interface, as following we create a file named test.py.
After that, we write some lines of code to print something using python.
2. Configuring Python
Begin by installing Python. We created a directory named ‘projects’ and add a ‘test.py’ file. VSCode will prompt you to install Python upon detecting the .py file. After installing Python, write a test statement and select the interpreter from the lower right corner. If the interpreter isn’t found, it prompts you to install Python, preferably the latest version 3.11, from the Microsoft Store.
1) Install python extension
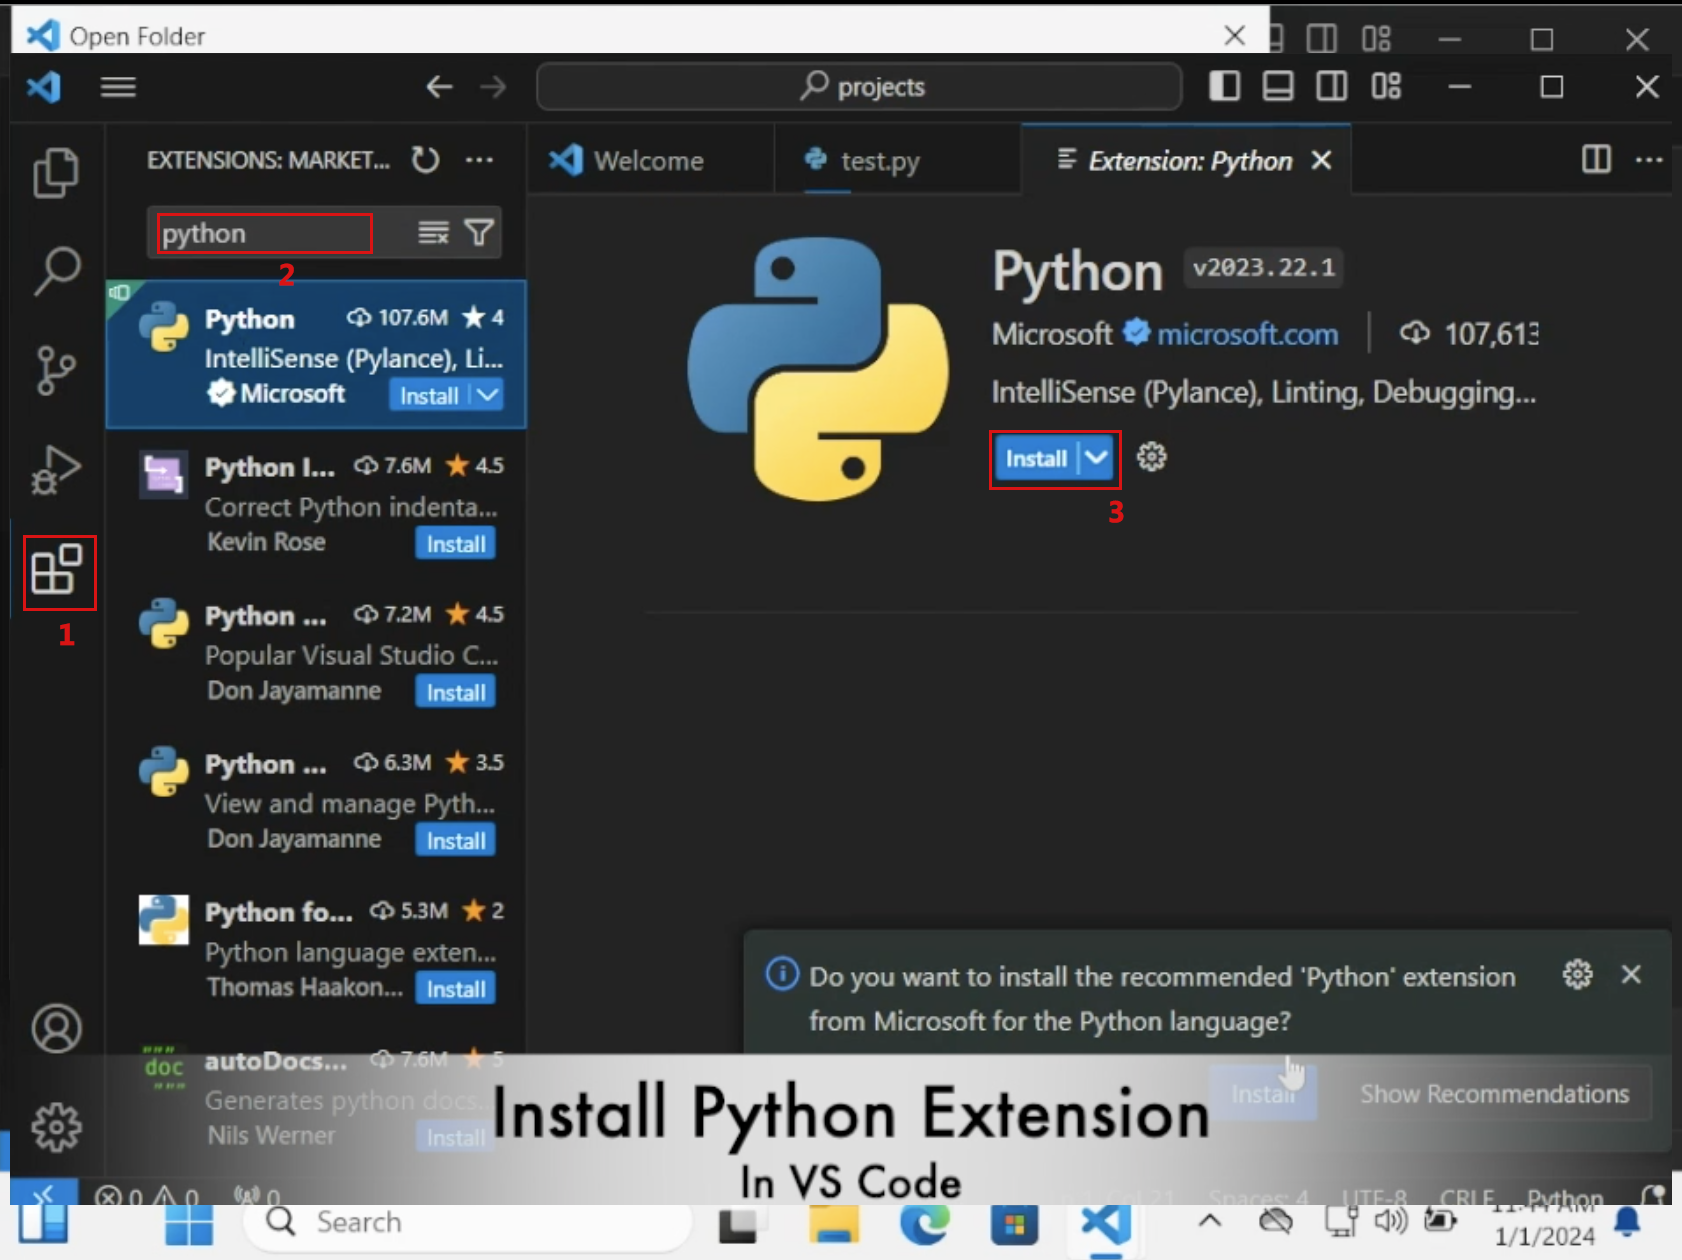
Then, let us back to the file, and you can click “interpreter” right-bottom to select an python interpreter and if your vscode do not have it the python extension will guide you install python interpreter through lauching Microsoft Store.
Or you can install python outside VScode from Microsoft Store directly.
2) Install python interpreter
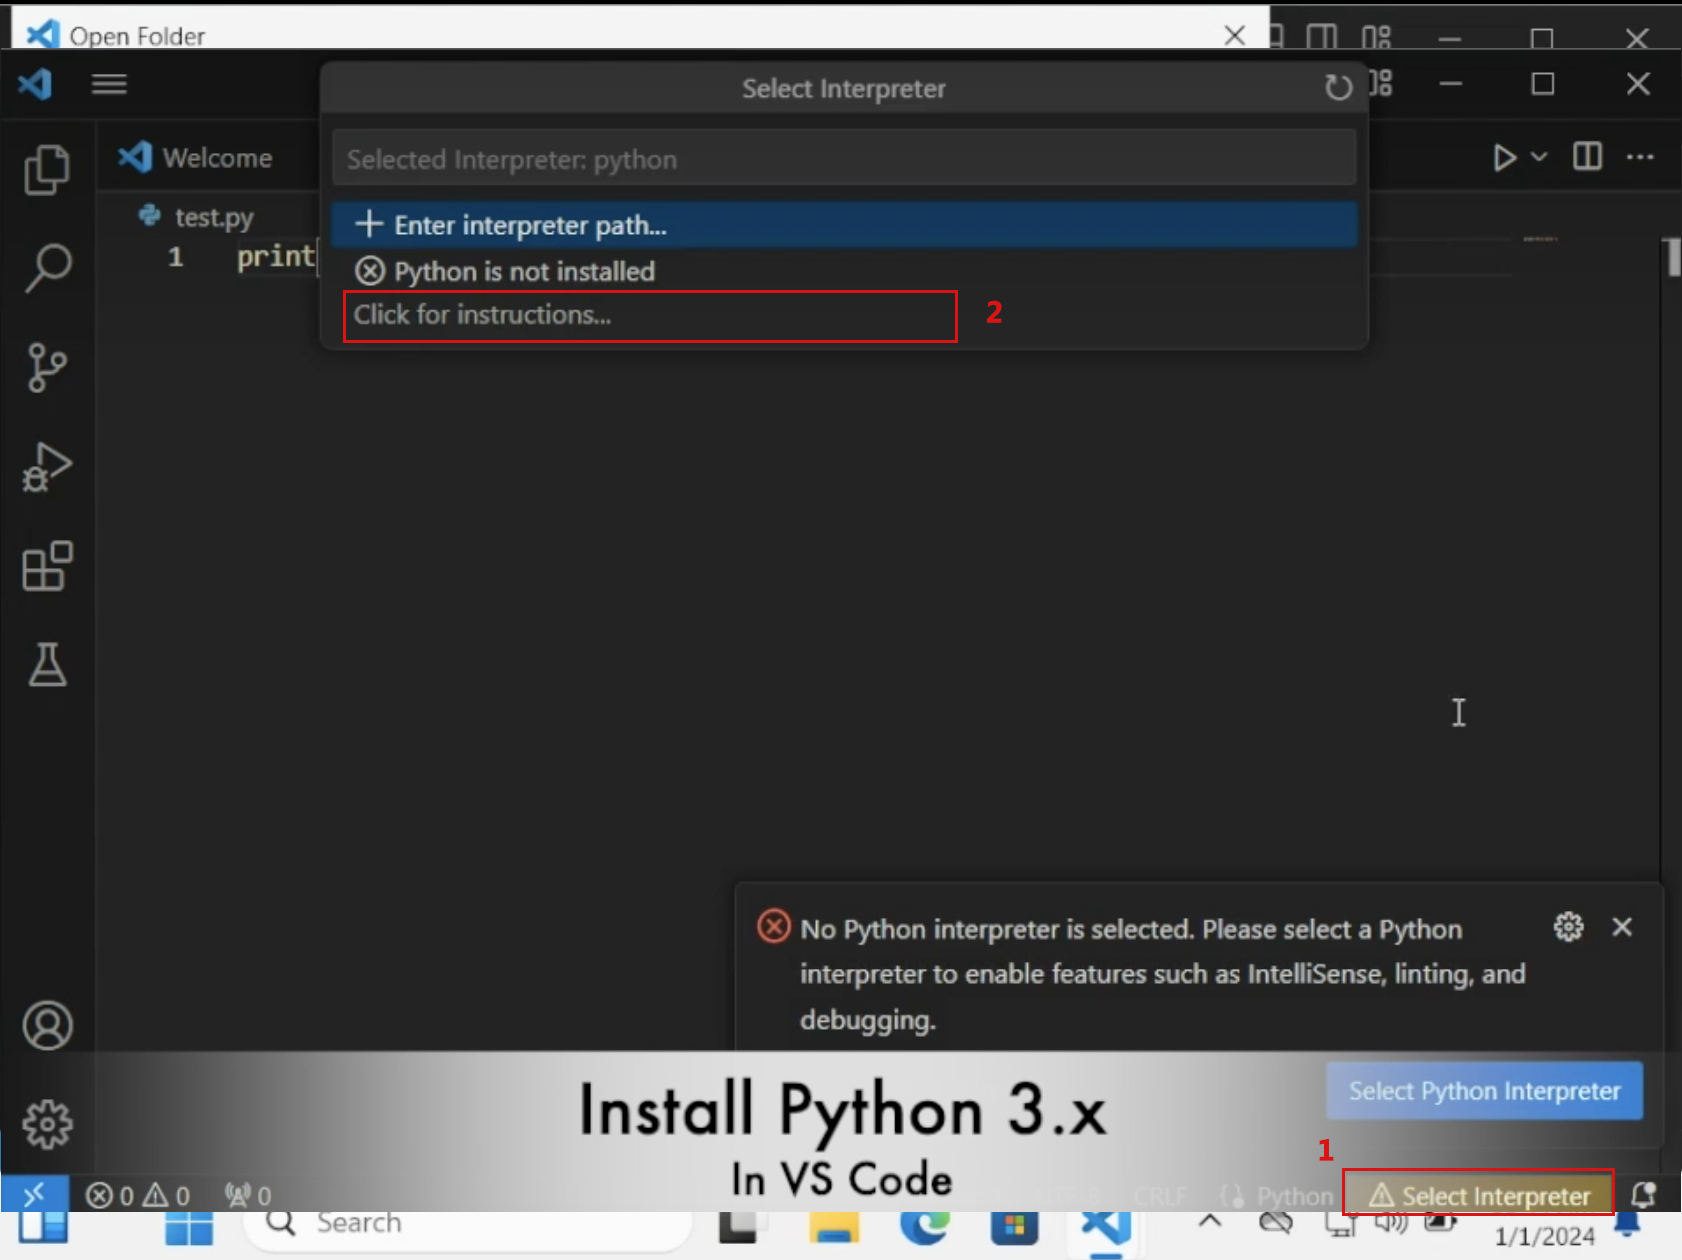
VsCode will open Microsoft Store to let you install python
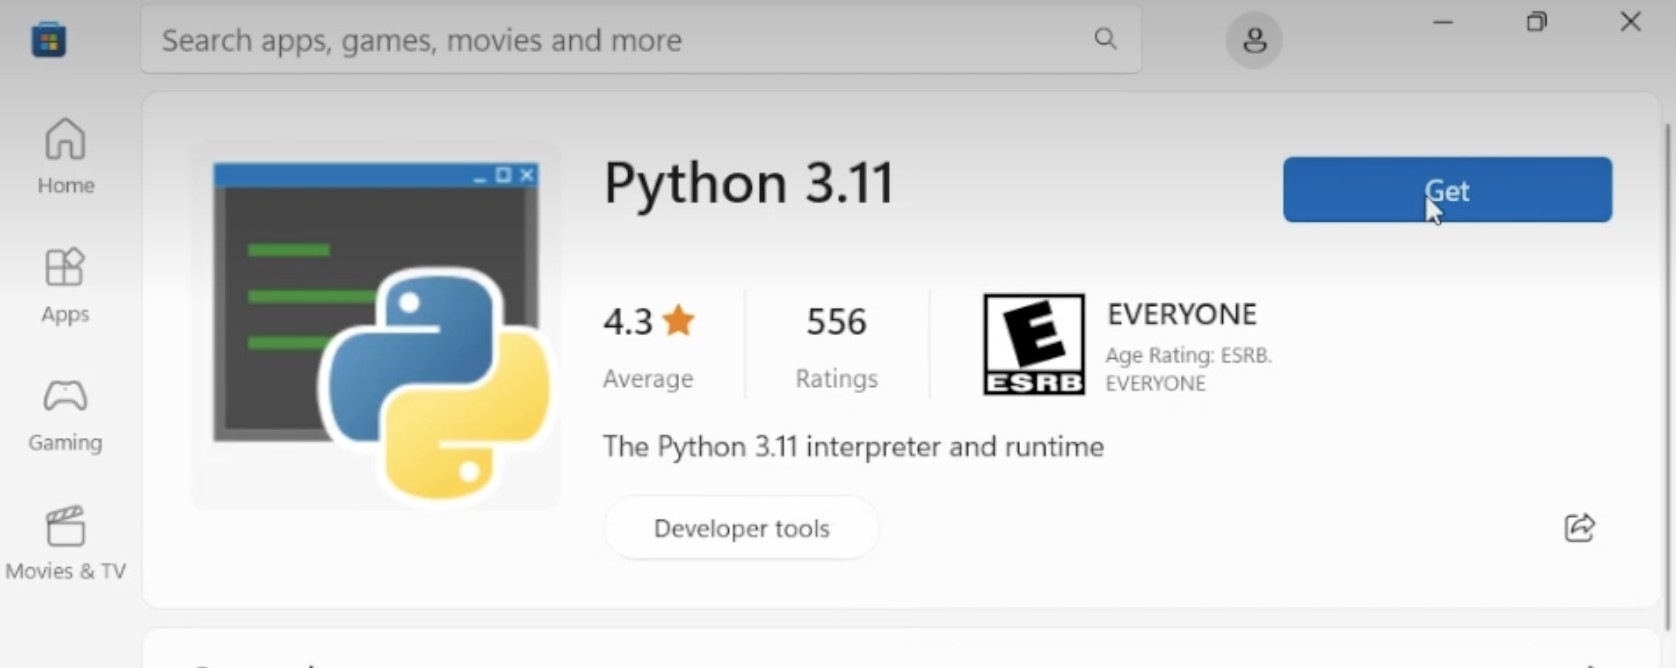
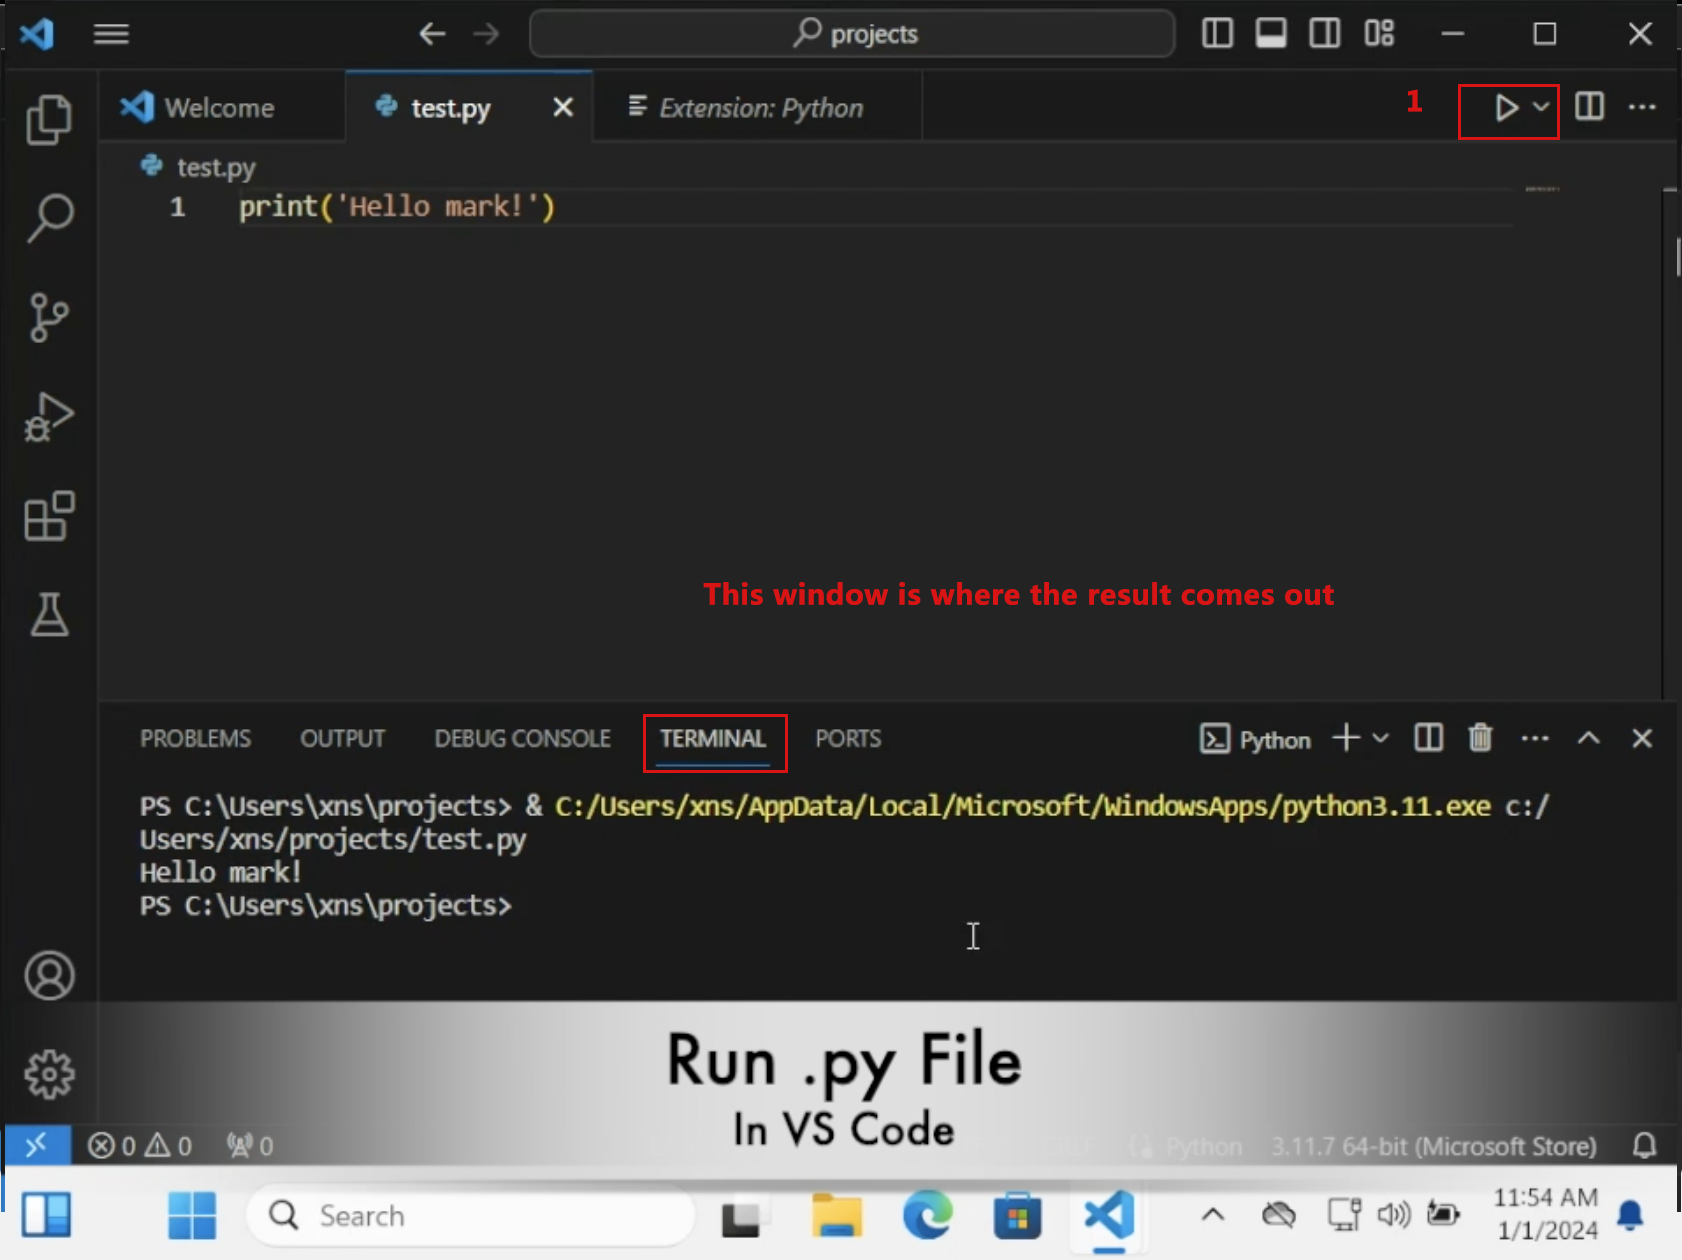
After installing Python 3.x interpreter and runtime, you can press PLAY button to run python file which you are editing in VS Code.
3. Virtual Environment
Given the versioning issues in the open-source world, it’s crucial to define third-party component versions your software depends on. Create a virtual environment named env in your ‘projects’ directory, containing a separate Python interpreter and third-party components for your project. After creating the environment, switch to it and resolve any permission issues that might prevent scripts from running.
From this step, we are going to type some commands in VsCode’s TERMINAL window, it is ok if you use these commands outside VsCode but in a window’s PoweShell Terminal.
1)create a virtual environment called env
we type following commands to create a virtual environment called env which can be any name you like.
python -m venv env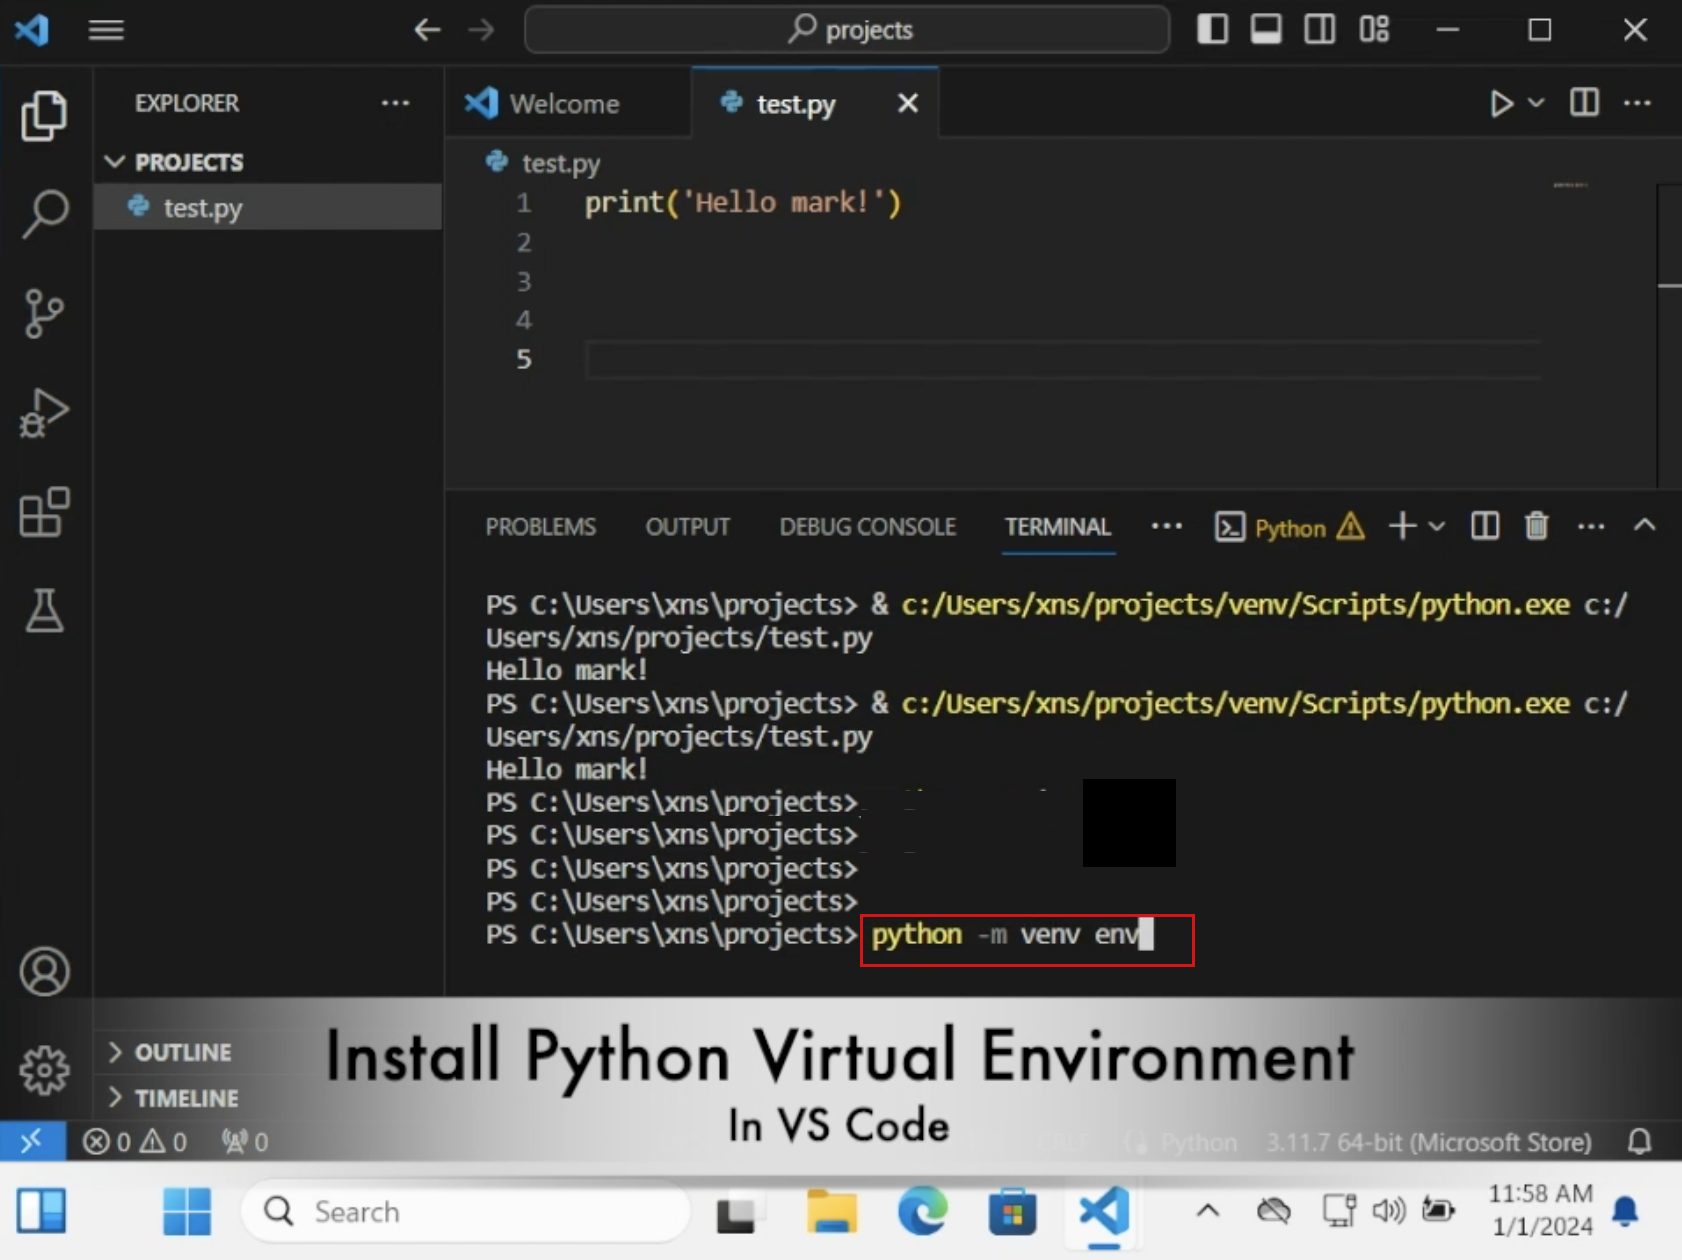
2)Using the virtual environment
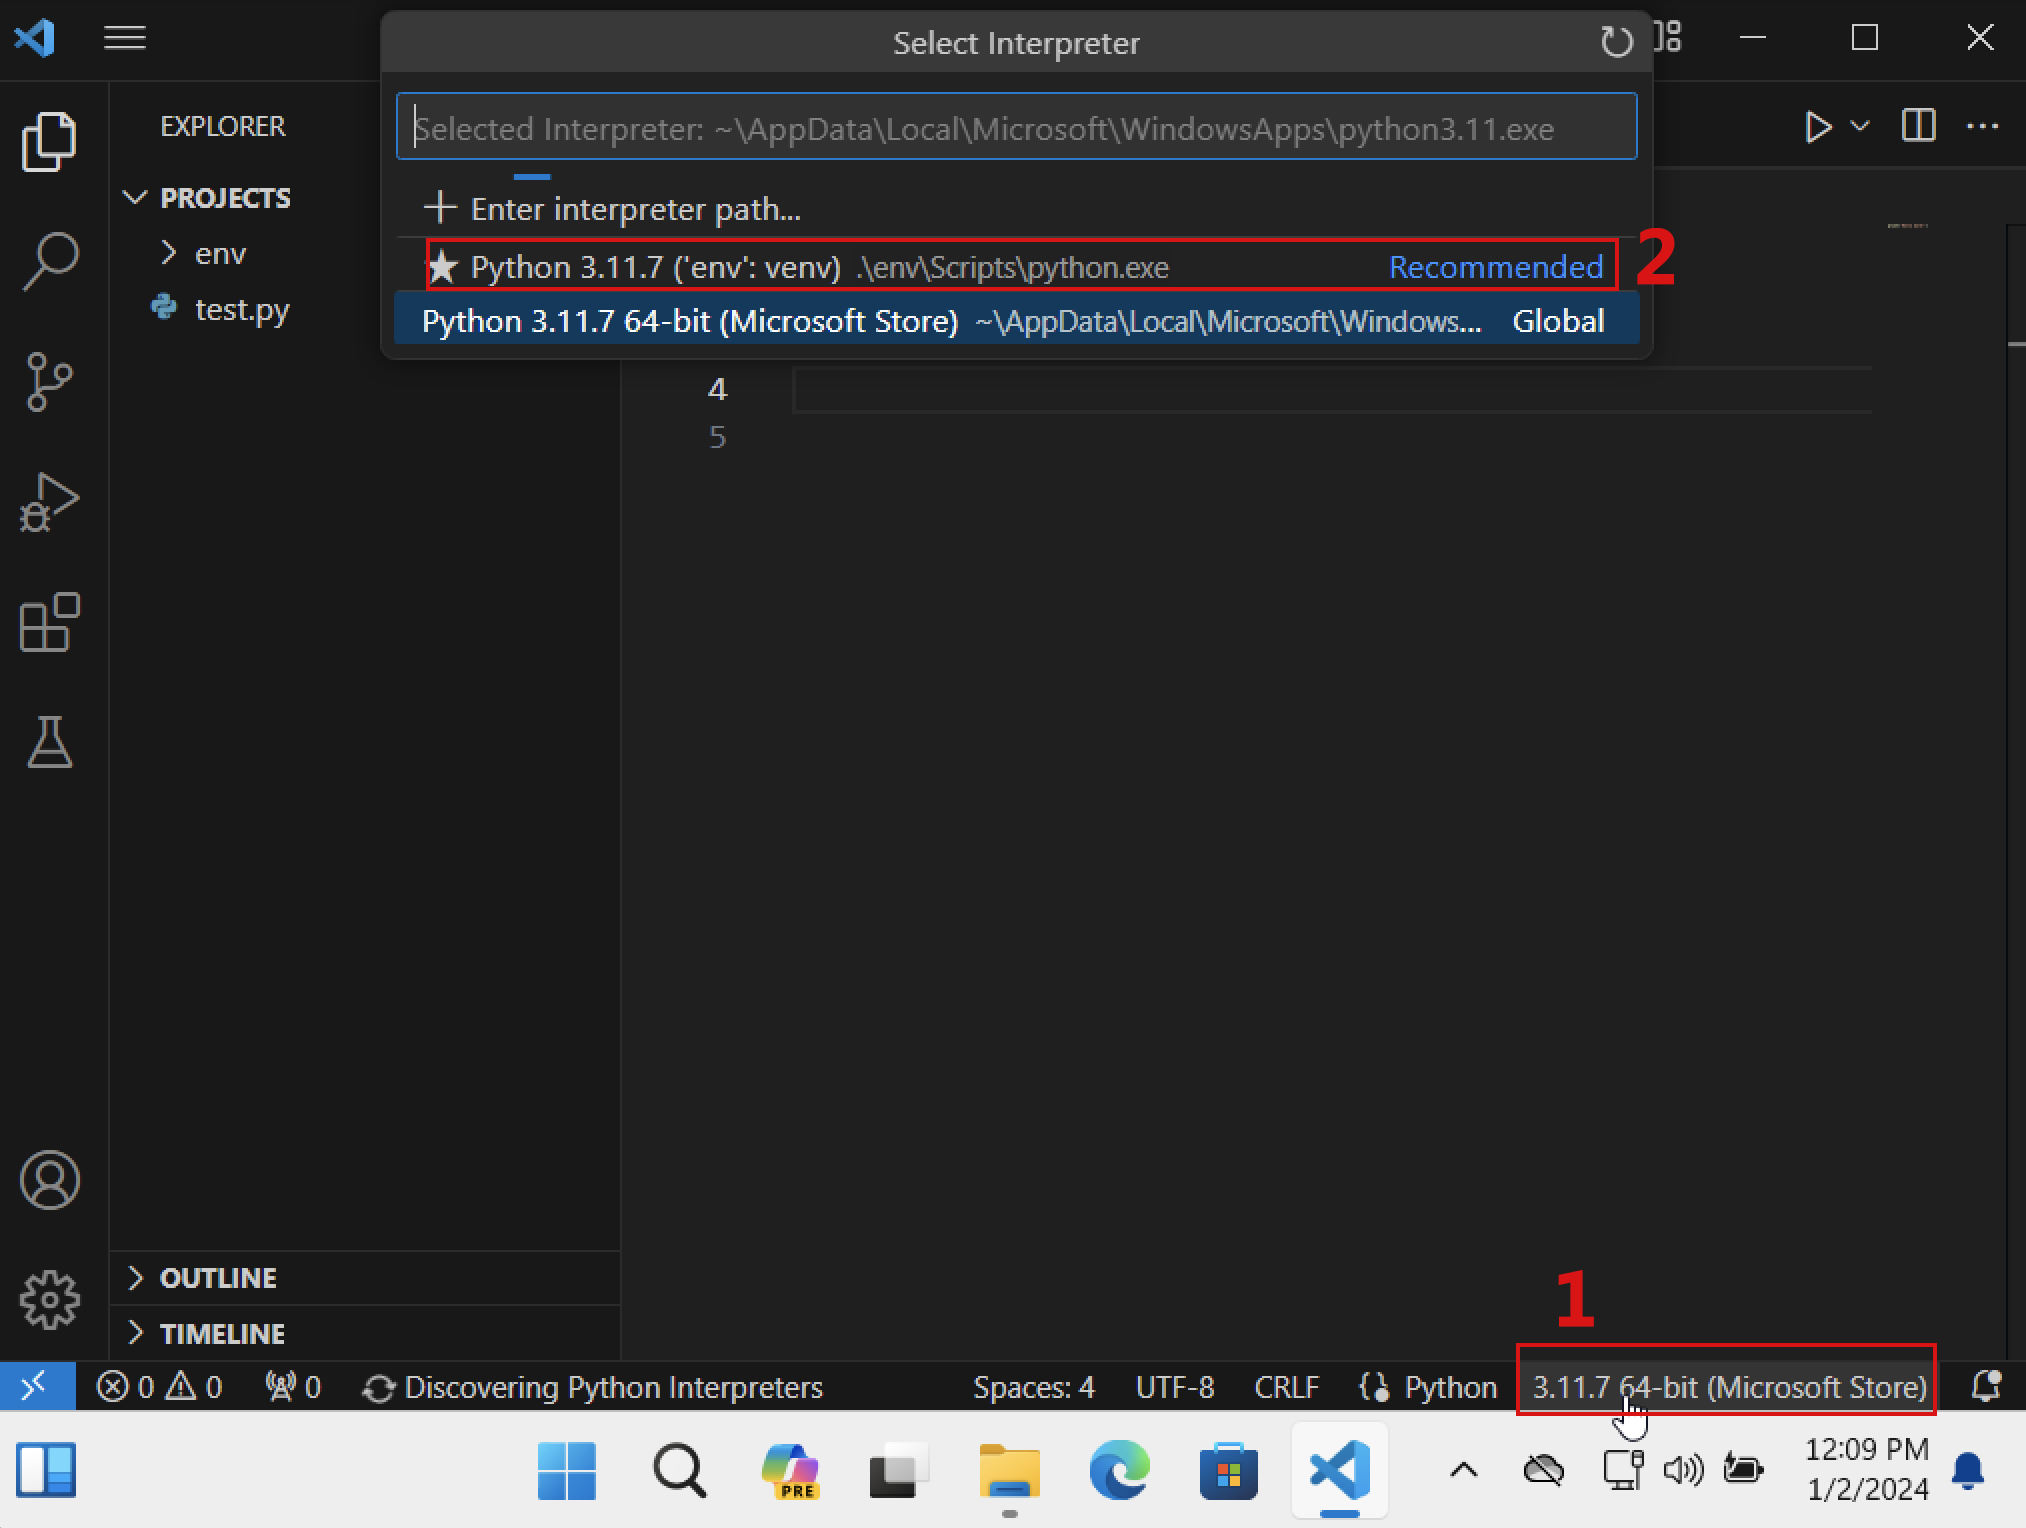
As following, we click the right bottom area to select the ENV environment.
We run the test.py file and find out the runtime path has changed to ./env folder
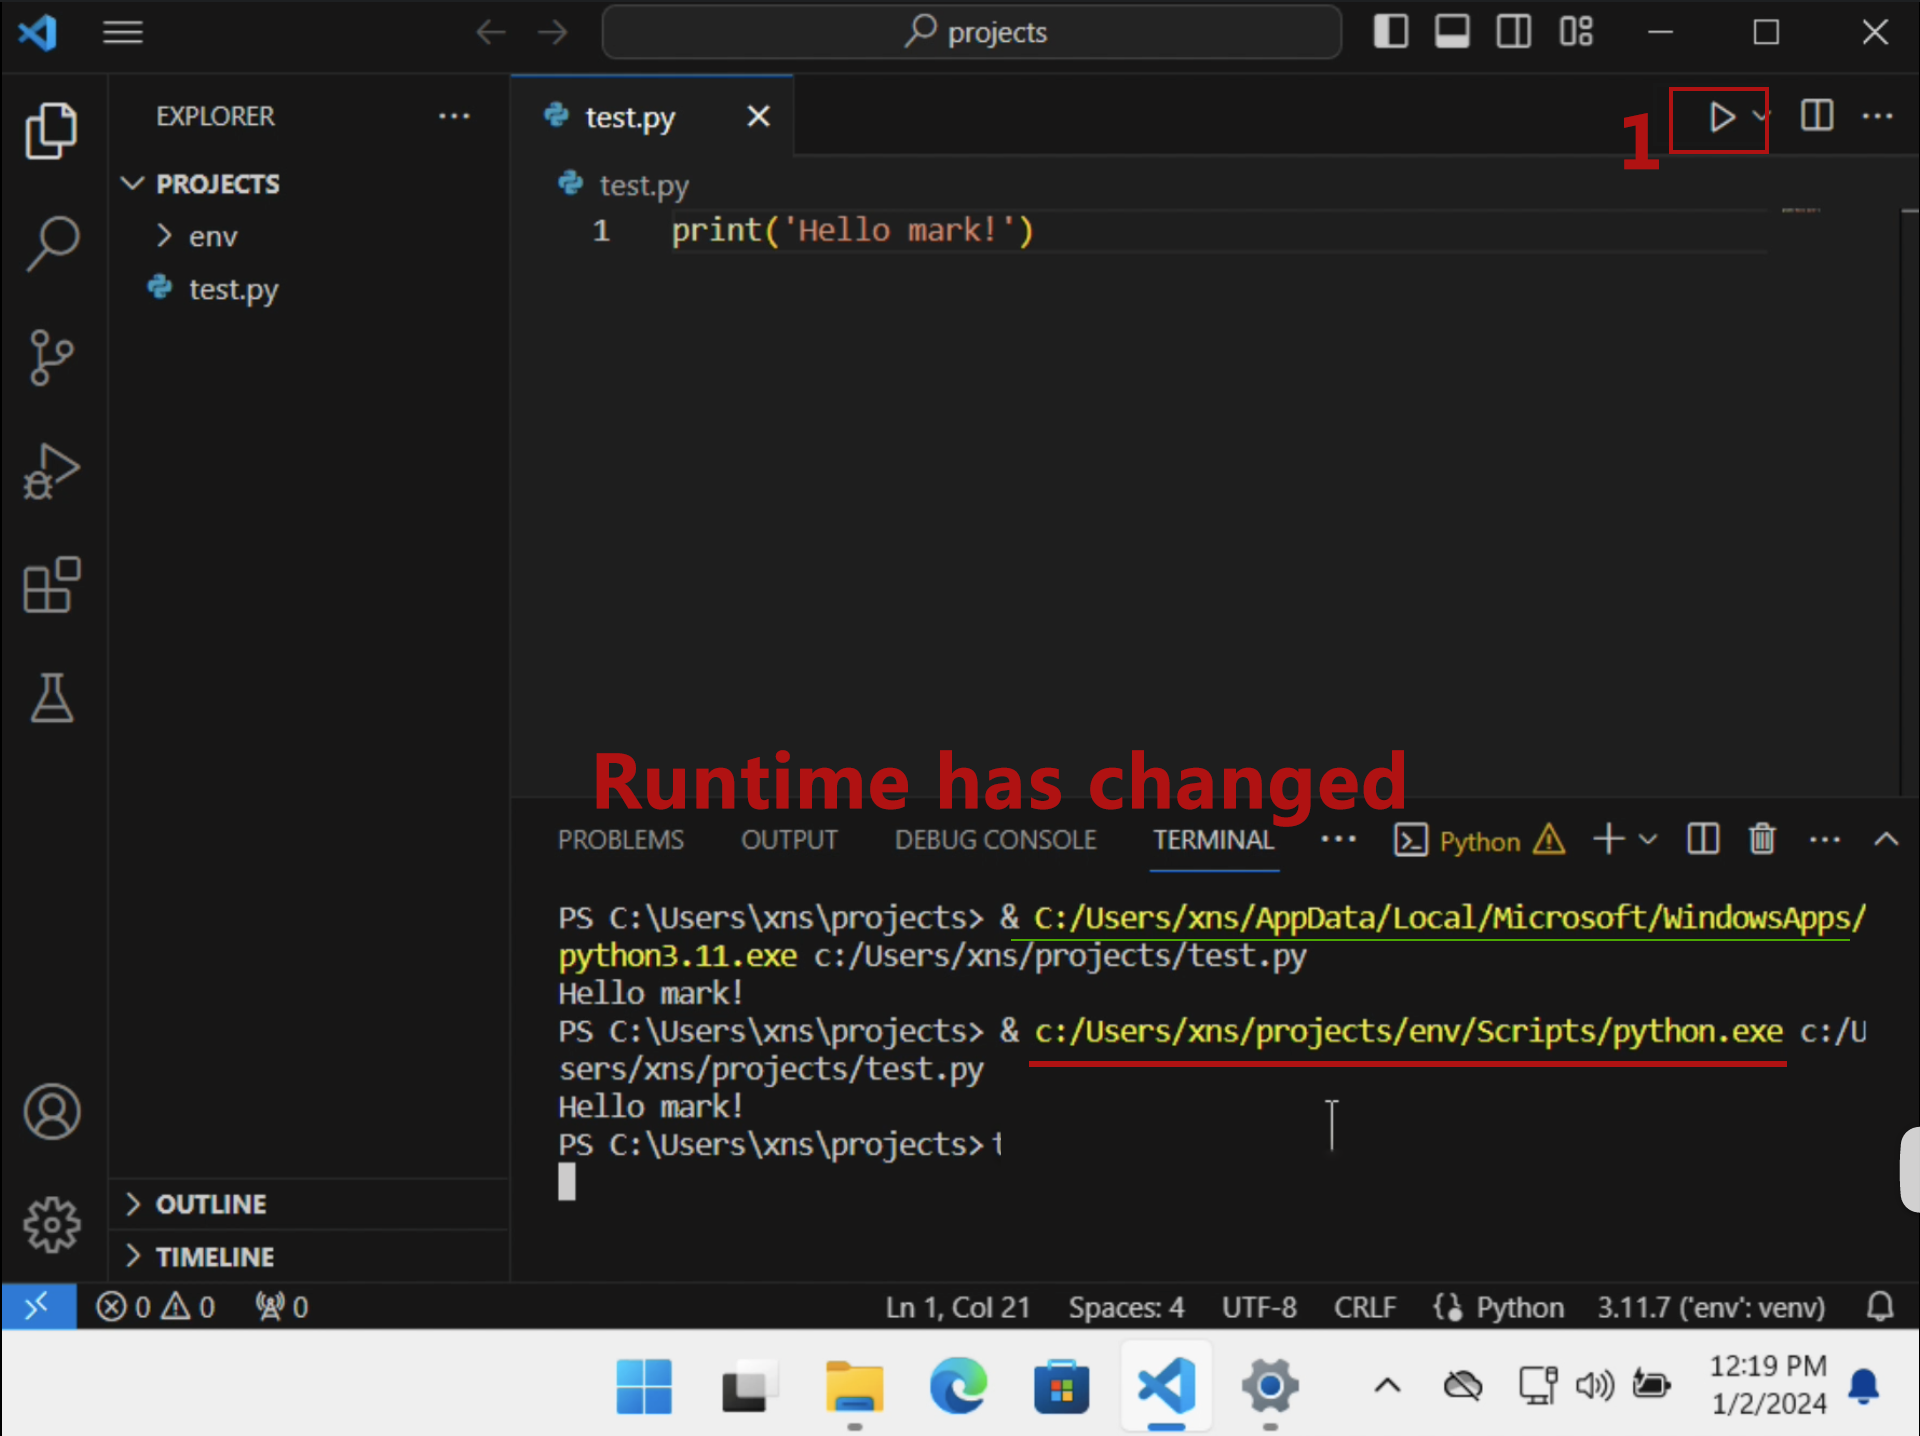
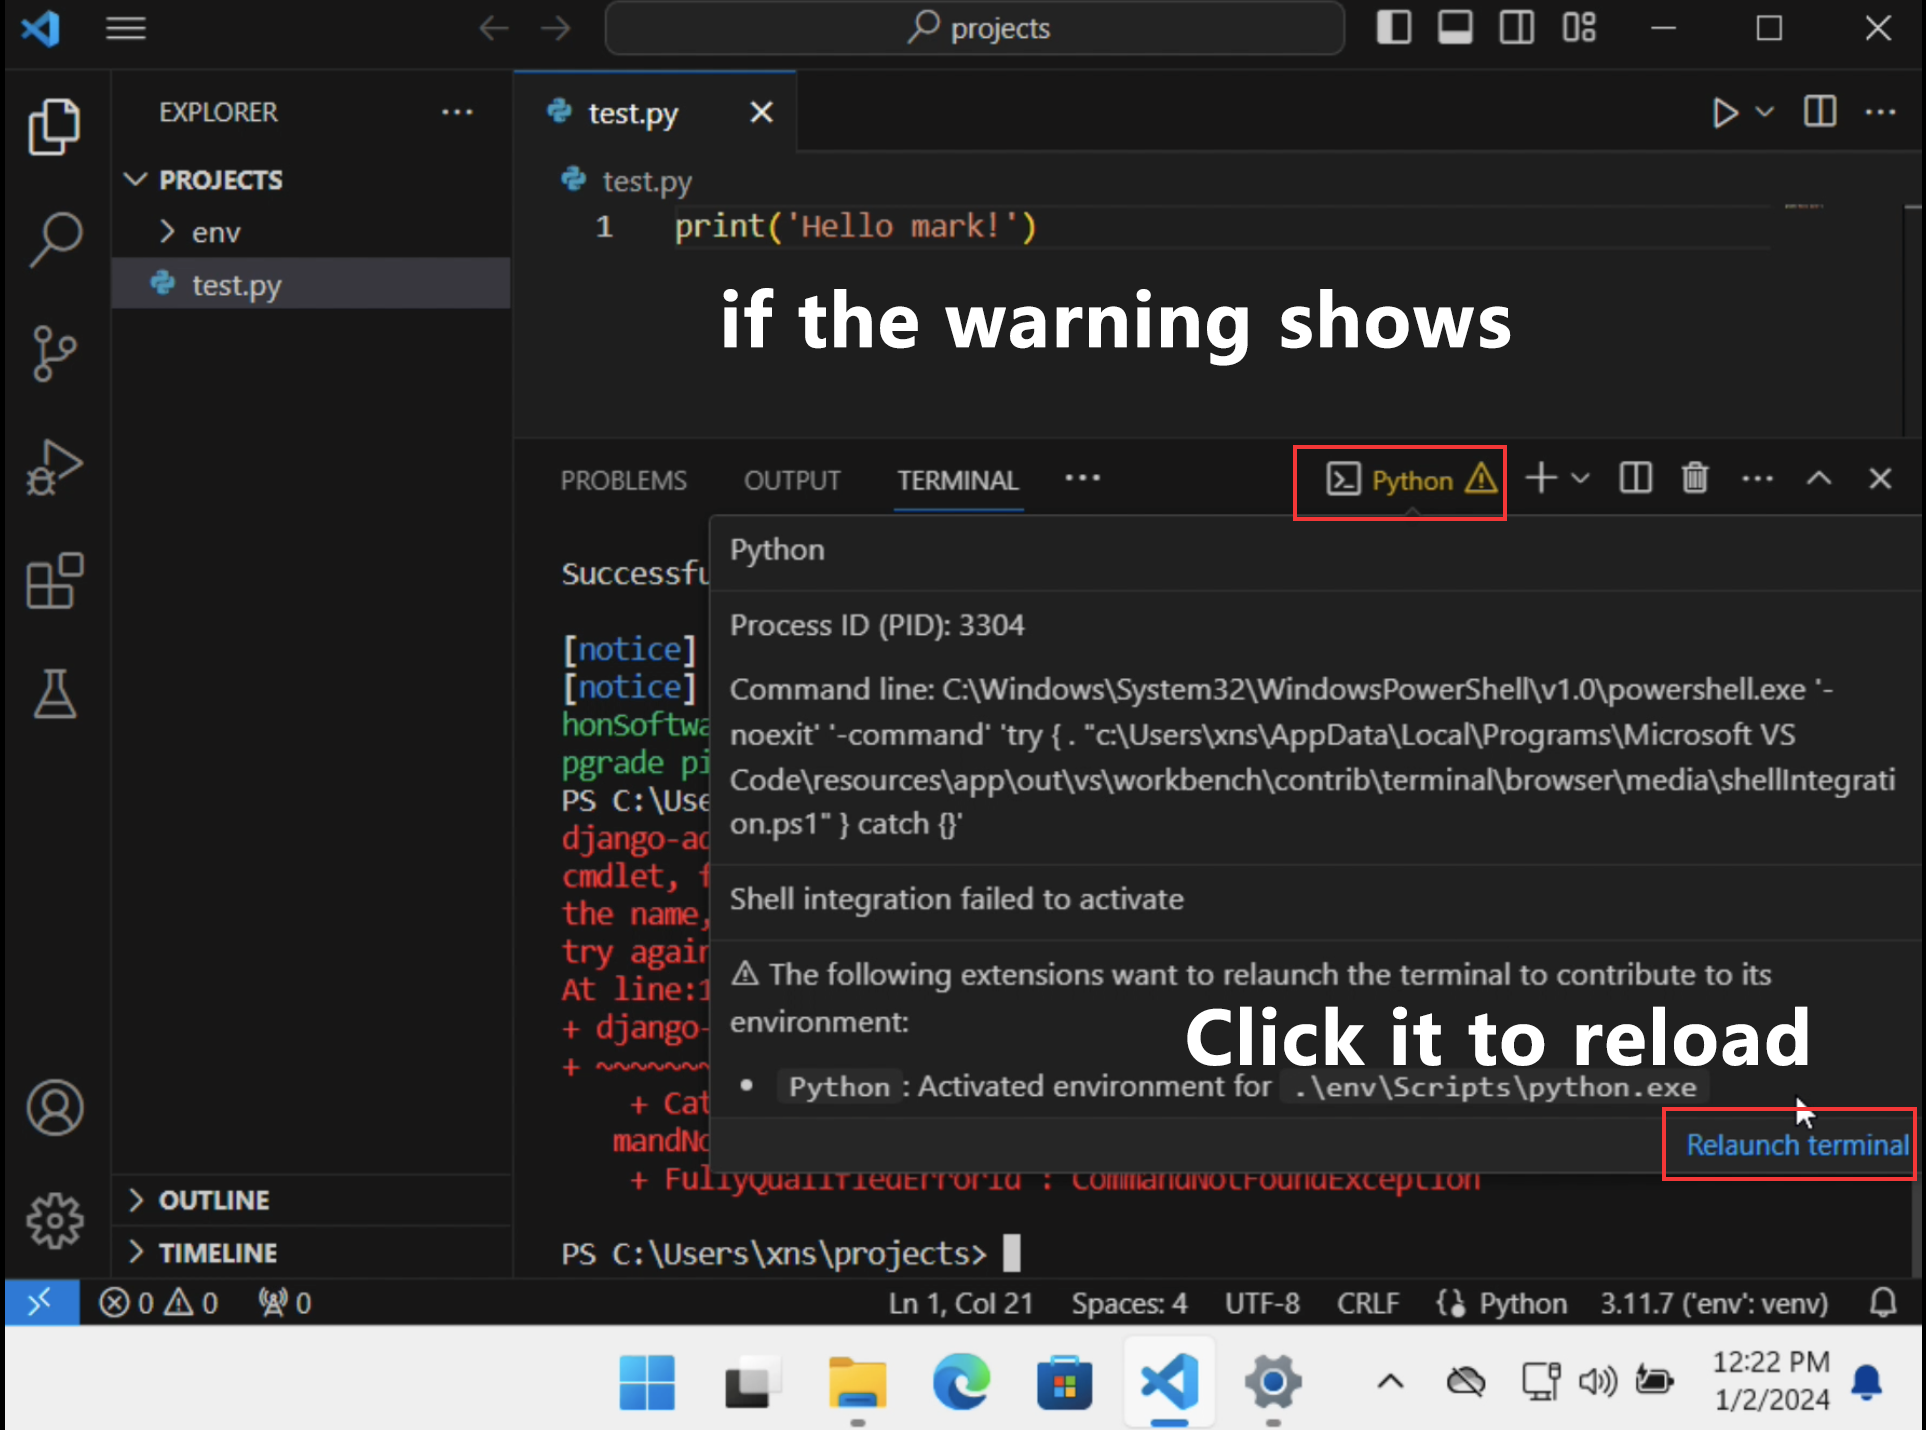
VS Terminal need be reloaded, if a warning shows like following
4. Installing and Configuring Django
We will install Django in the ./env environment using pip, create a Django project named ‘artter’. After setting up, configure the database and create a superuser for backend management. Then, modify the ‘ALLOWED_HOSTS’ in the settings.py to launch a test server and view the default Django site. Append ‘/admin’ to the URL to access the Django admin site.
1) installing django
python -m pip install django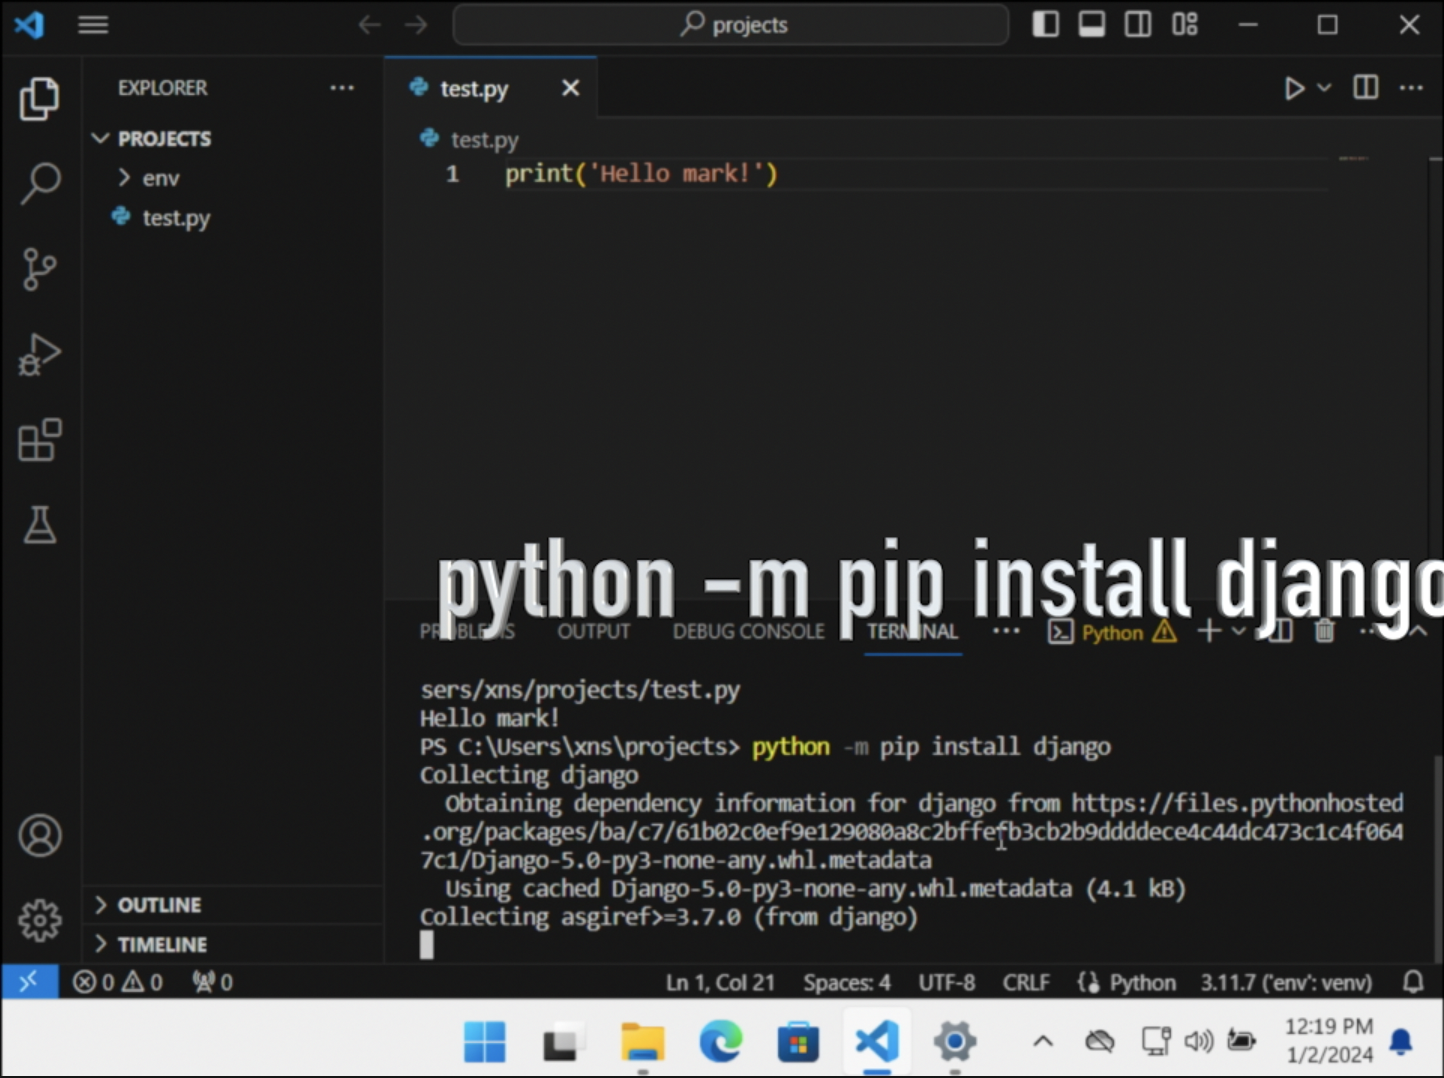
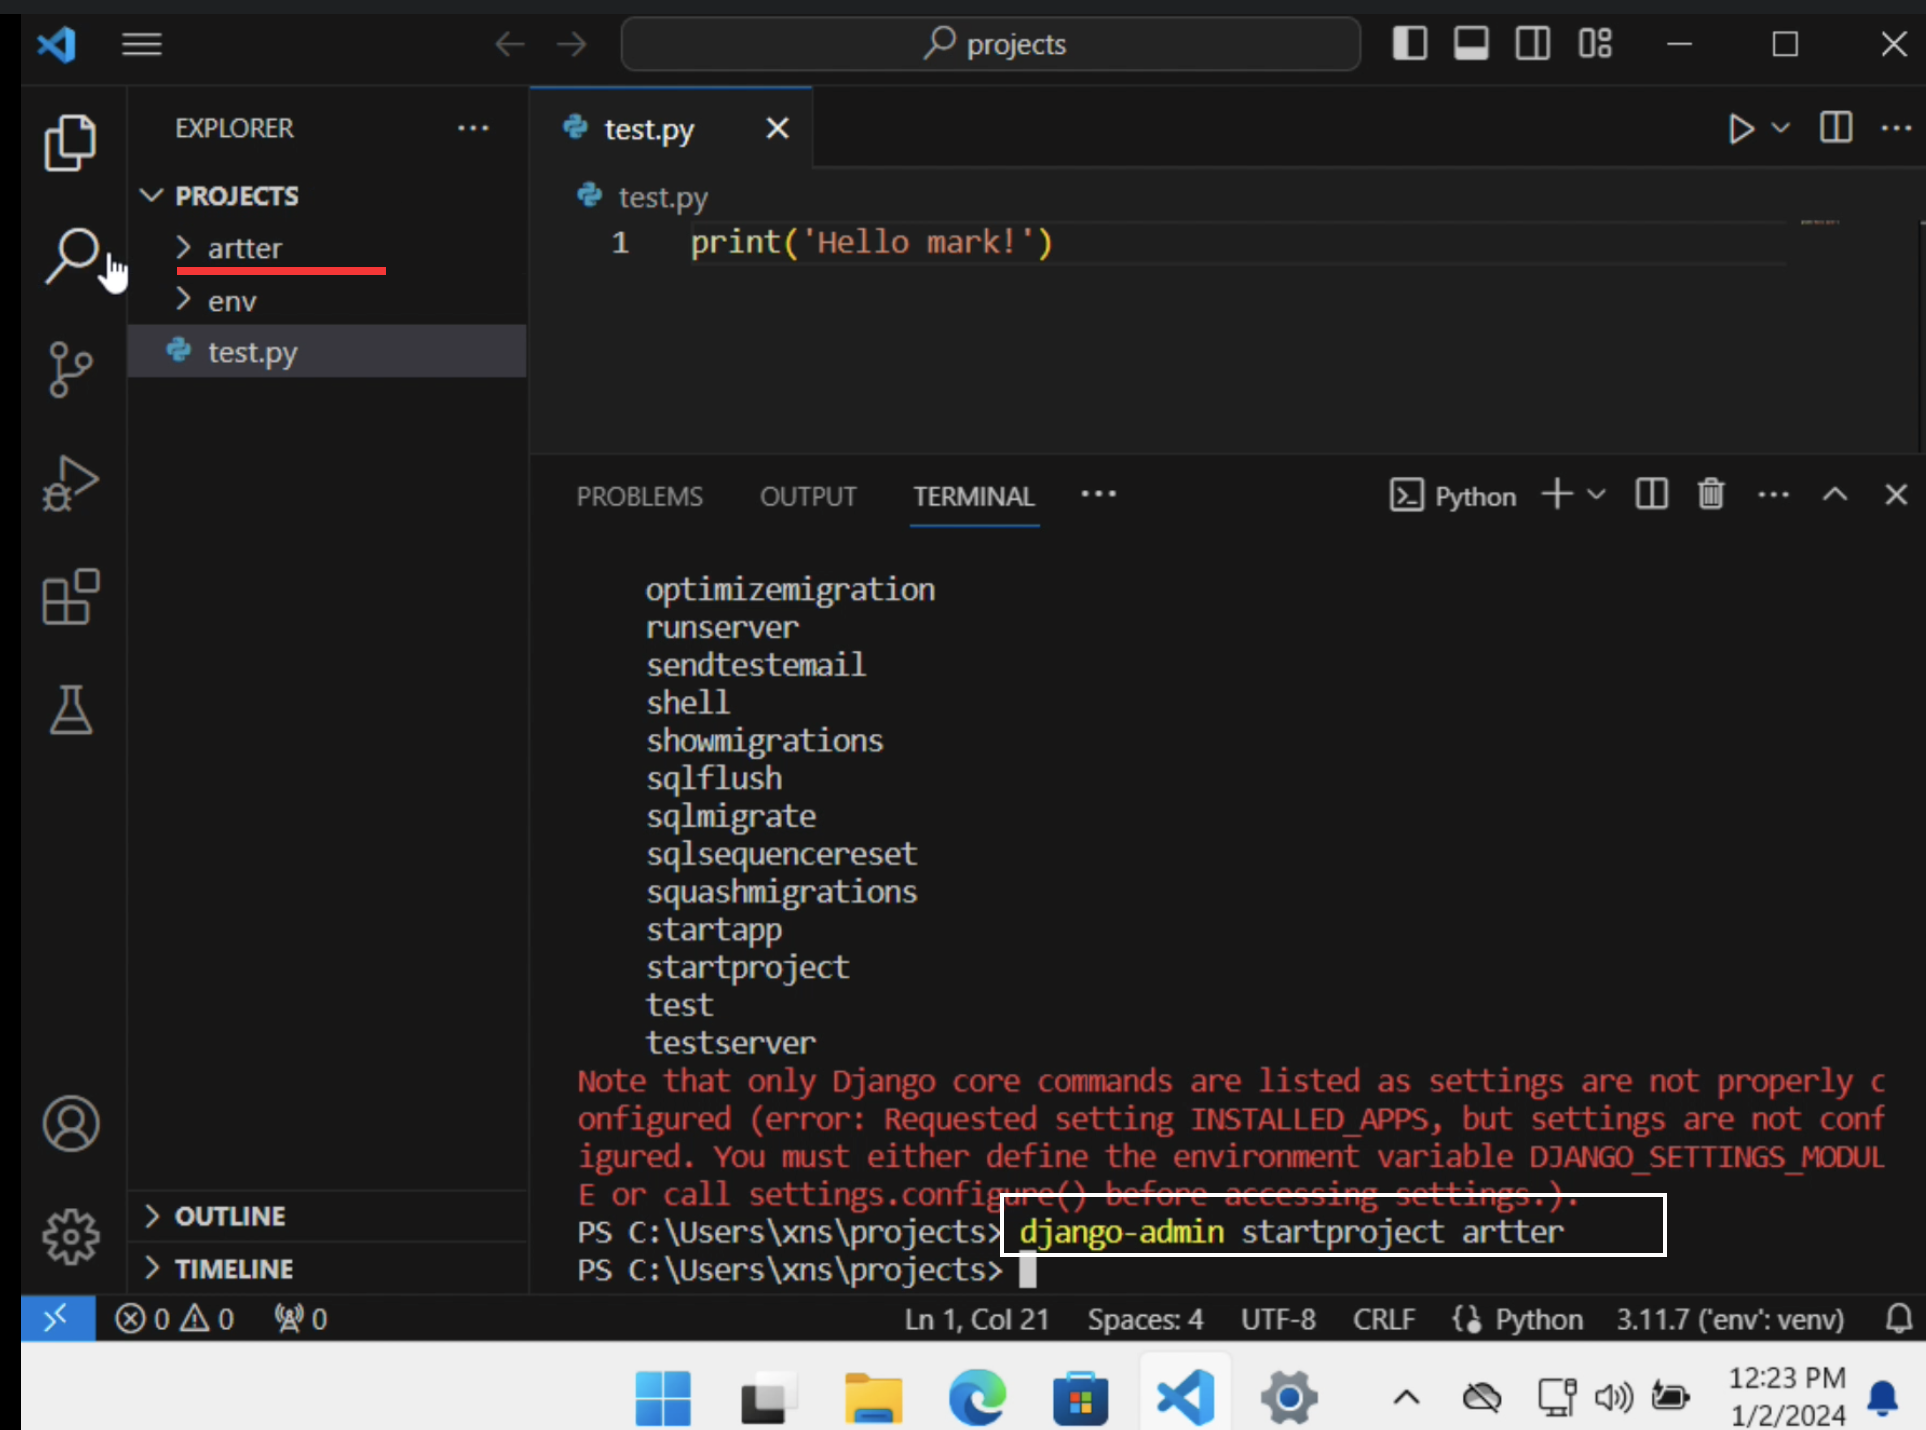
2) create a django project
“artter” following is the name of project , you can name it anything you want
django-admin startproject artter
3) migrate and createuser
use these commands to complete the task of migration and user creating. we name the superuser “admin” which can be any word you like.
cd artter
python -m manage migrate
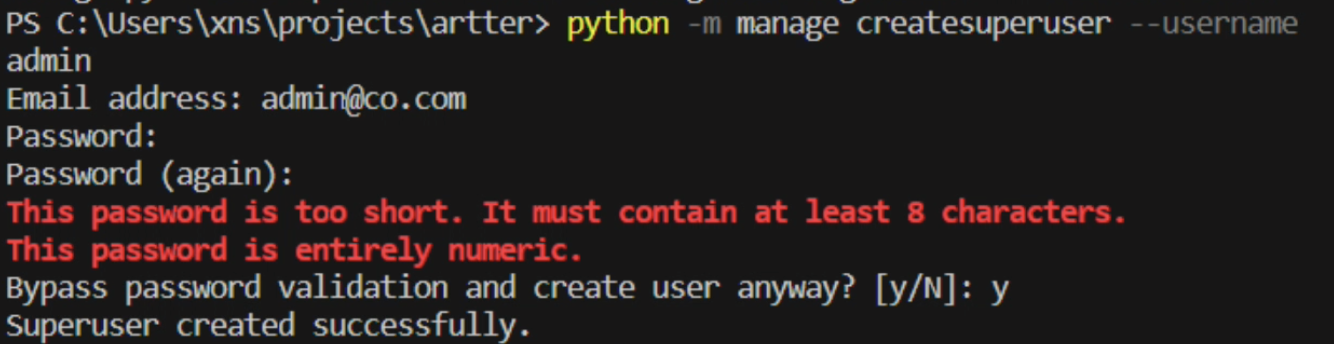
python -m manage createsuperuser --username admin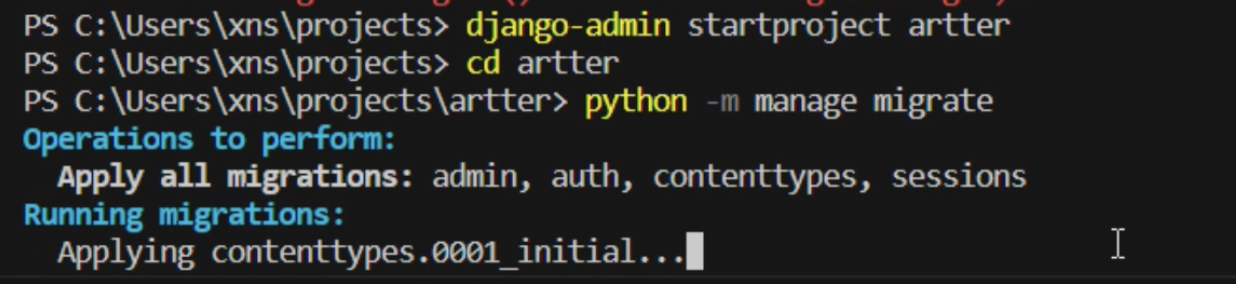
After you enter createuser command, Command line will ask you some questions as following:
4) run development server
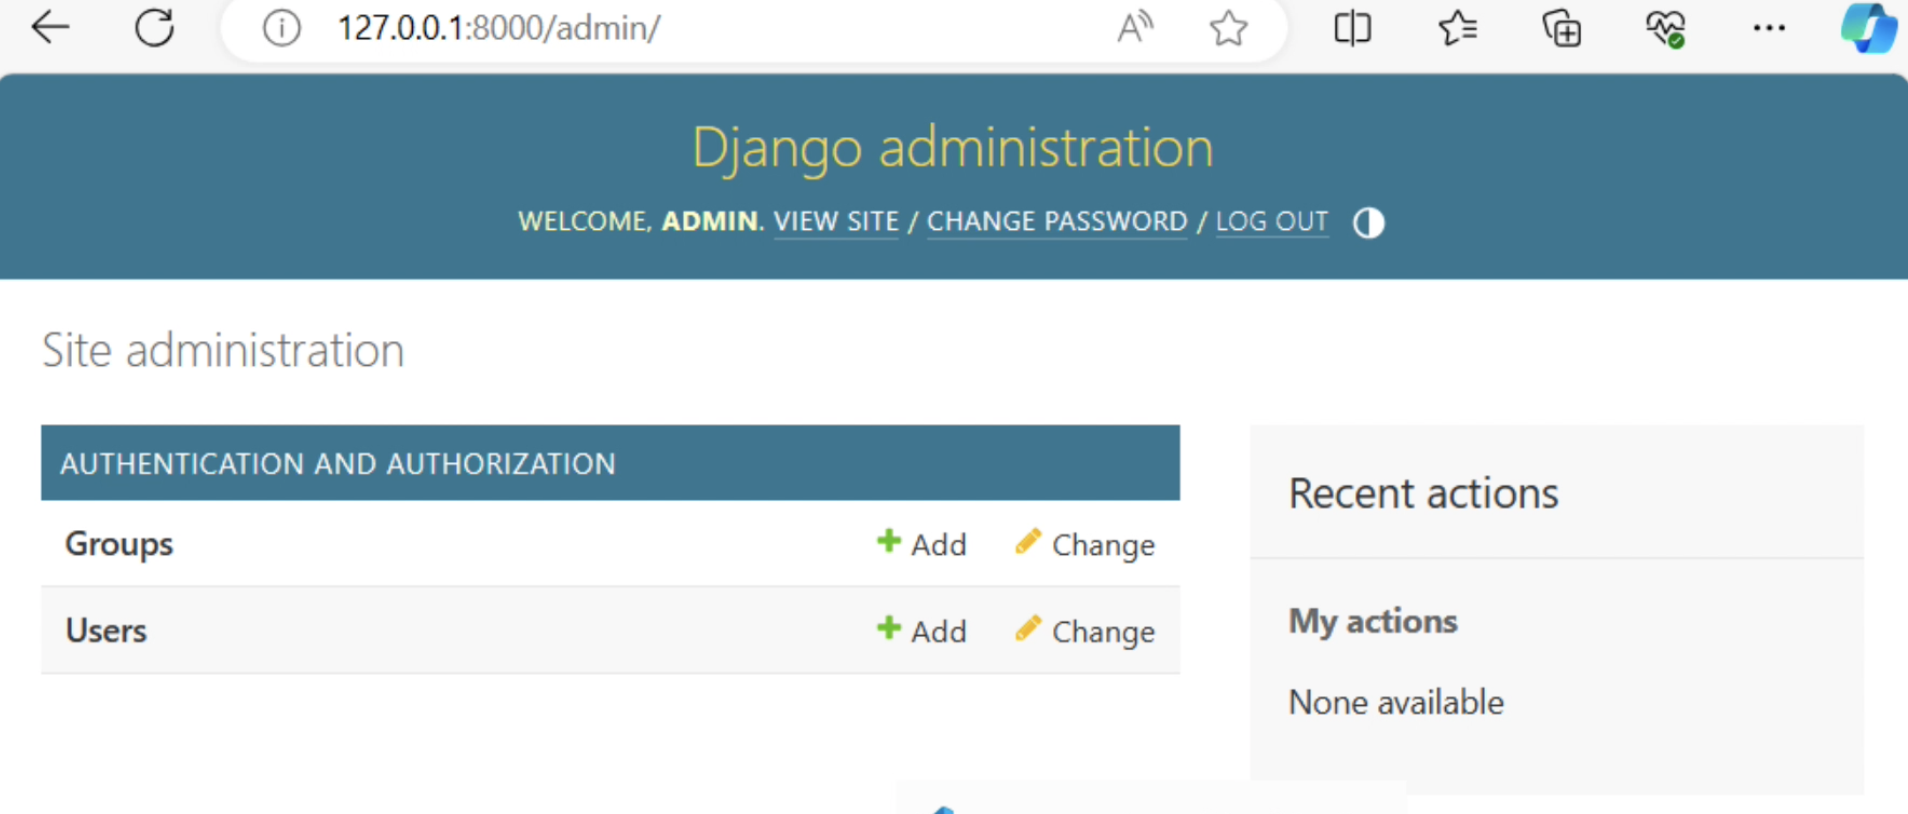
Till now, we do not write down a single line of code but a backend site has been built.
Also, “runserver” is the command that can start your develpment server. Any Internet Brower (eg. Edge, Chorme )
python -m manage runserver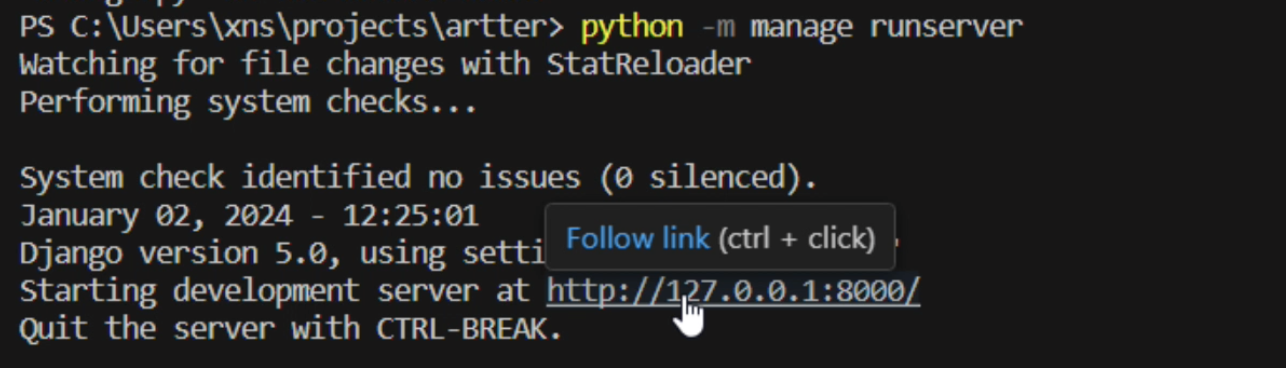
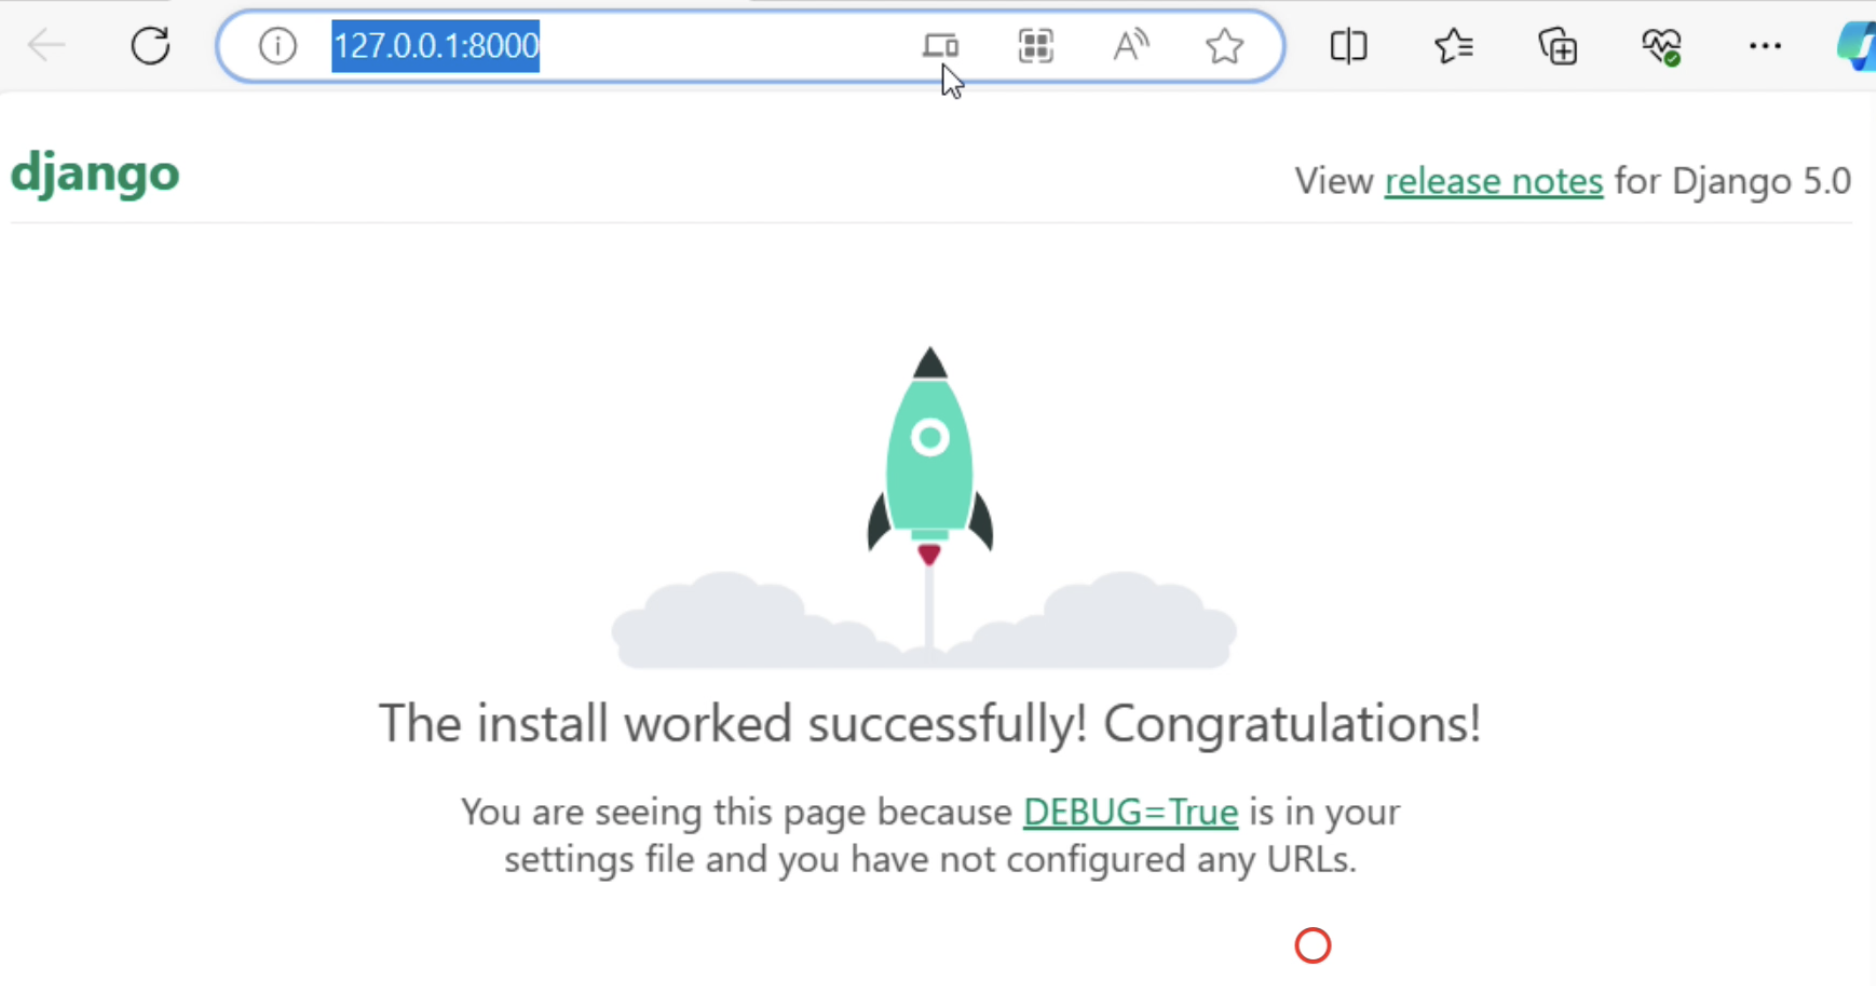
You will see the following pages:
If you add url /admin after the host, an admin site entry page will be shown:
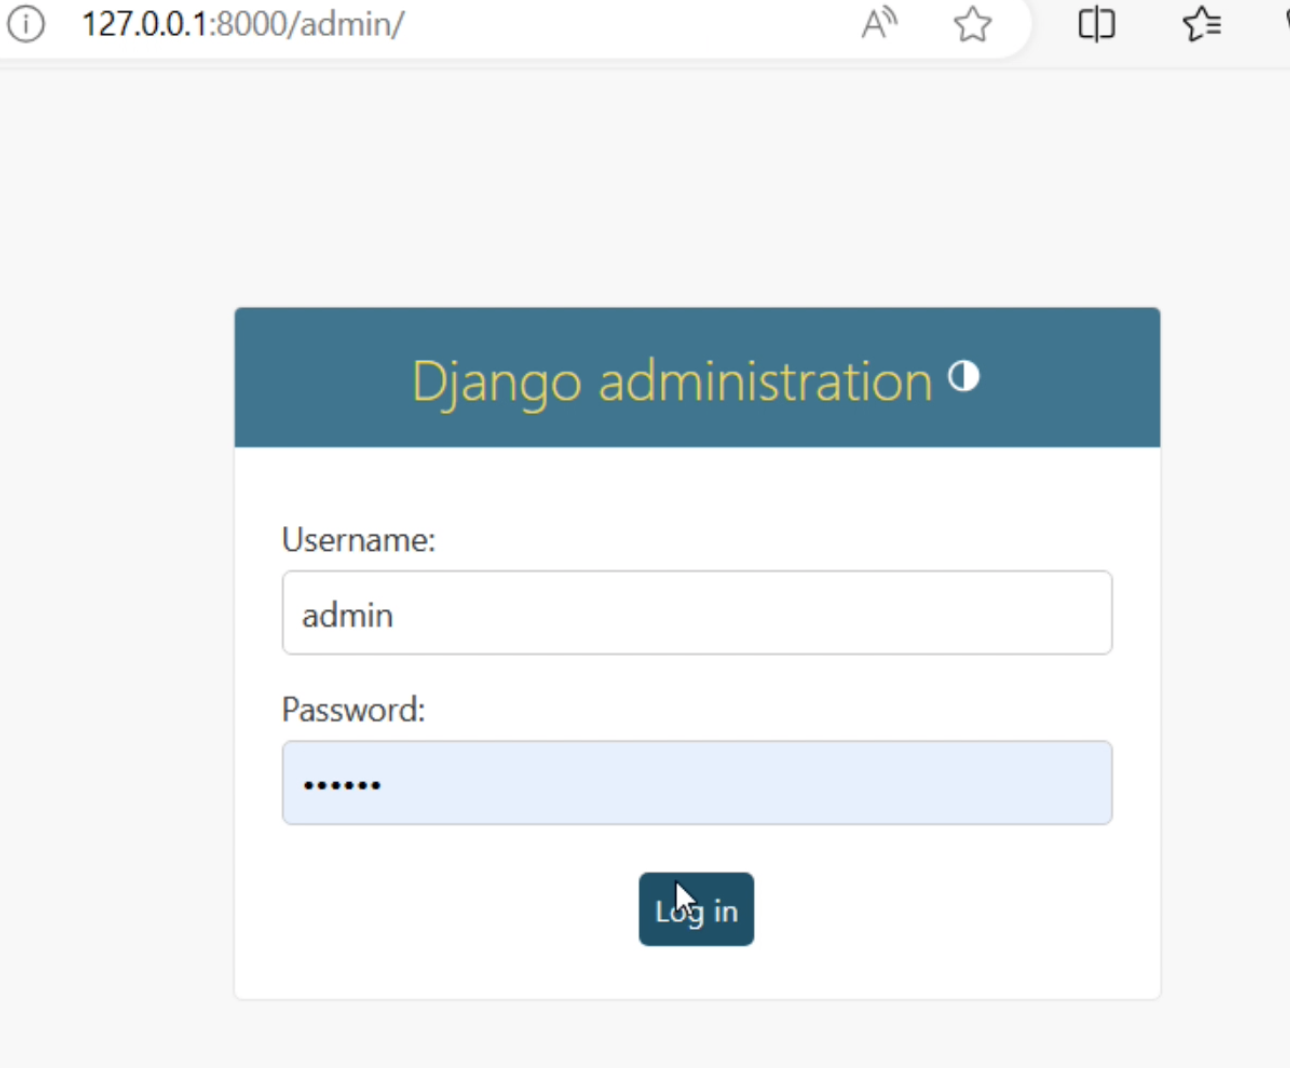
Enter your admin & password( on last step you set),you will enter the site:
5. Conclusion
In conclusion, you’ve created an empty project named ‘artter,’ with a default backend admin site. Now, it’s up to you to decide what to build with it, be it a BBS, a Blog or any other type of website?